Configuring IPsec IKEv2 Remote Access VPN Clients on Android
Note
Android considers using a VPN an action that must be secure. When activating any VPN option the OS will force the user to add a lock method to the device if one is not already present. It does not matter which type of lock is chosen (PIN lock, Pattern lock, Password, etc.) but it will not allow a VPN to be configured until a secure lock has been added.
On Android devices with Face lock, that is not available as a secure lock type on its own.
There are two methods to configuring IKEv2 on Android: Natively on Android 11.x and later, or using the strongSwan app from the Play Store.
Native IKEv2 on Android
Android 11.x and later now include several IKEv2 client options compatible with mobile IPsec on pfSense® software. This example covers EAP-MSCHAPv2 which also works with EAP-RADIUS.
Note
The settings below are from pure Android 11.x. These exact settings may not present on all Android devices, depending on the Android version and changes made by the OEM.
Import the Server CA
To validate the server, the client needs to know the server certificate CA. The Android IKEv2 client will only validate against CA entities imported by the user.
Note
Though this validation is optional it is the best practice as otherwise the client cannot verify it is connecting to the correct server.
Warning
Installing a self-signed root CA into Android in this manner carries some danger as the CA could also be used to impersonate other servers. The danger is lower since this is controlled by firewall administrators, but the warnings presented when this is done may still confuse and worry end users.
If this is unacceptable, use the strongSwan application instead. It can validate against an existing root CA as well as validating a CA without installing it into the operating system trust store.
Copy the CA certificate to the device
Swipe down twice from the top of the screen
Tap the Settings cog
Tap Security, Encryption & Credentials
Tap Install a certificate
Tap CA certificate
Read the warning text
Tap Install anyway
Locate and tap the CA certificate which was copied to the device
Set up the VPN Connection
Swipe down twice from the top of the screen
Tap the Settings cog
Tap Networks & Internet, Advanced, VPN
Tap +
Enter the connection settings as follows:
- Name:
ExampleCo Mobile VPNor another suitable description- Type:
IKEv2/IPsec MSCHAPv2
- Server Address:
The address of the server.
Note
This must match a value in the server certificate. For example, a hostname or IP address in a certificate SAN entry.
- IPsec Identifier:
The identifier on the EAP pre-shared key for this user (e.g. a username or e-mail address)
- IPsec CA Certificate:
Select the imported CA (optional, but the best practice)
- Username:
The identifier for this user again.
- Password:
The EAP key value associated with the identifier for this user.
Tap Save
Connecting and Disconnecting
To Connect:
Swipe down twice from the top of the screen
Tap the Settings cog
Tap Networks & Internet, Advanced, VPN
Tap the name of the VPN
Tap Connect
Android displays a key icon in the notification bar near the network status icons and clocks while a VPN is connected.
To Disconnect:
Swipe down twice from the top of the screen
Tap the Settings cog
Tap Networks & Internet, Advanced, VPN
Tap the name of the VPN
Tap Disconnect
strongSwan App on Android
Before starting, install the strongSwan app from the Play Store:
Set up the VPN Connection
Copy the CA Certificate to the device
Open the strongSwan app
Import the CA:
Tap the settings icon (Three vertical dots in the upper right)
Tap CA Certificates
Tap the settings icon (Three vertical dots in the upper right)
Tap Import Certificate
Locate the CA Certificate copied earlier and tap it.
Tap Add VPN Profile
Enter the address of the firewall as the Gateway (e.g.
vpn.example.com)Select IKEv2 EAP (Username/Password) for the Type
Enter the Username
Enter the Password to have it be remembered or leave it blank to prompt for the password on each connection.
Check Select automatically under CA Certificate
Enter a Profile Name (optional, if left blank, the gateway address will be used)
Compare the settings to Figure Android strongSwan Client Settings
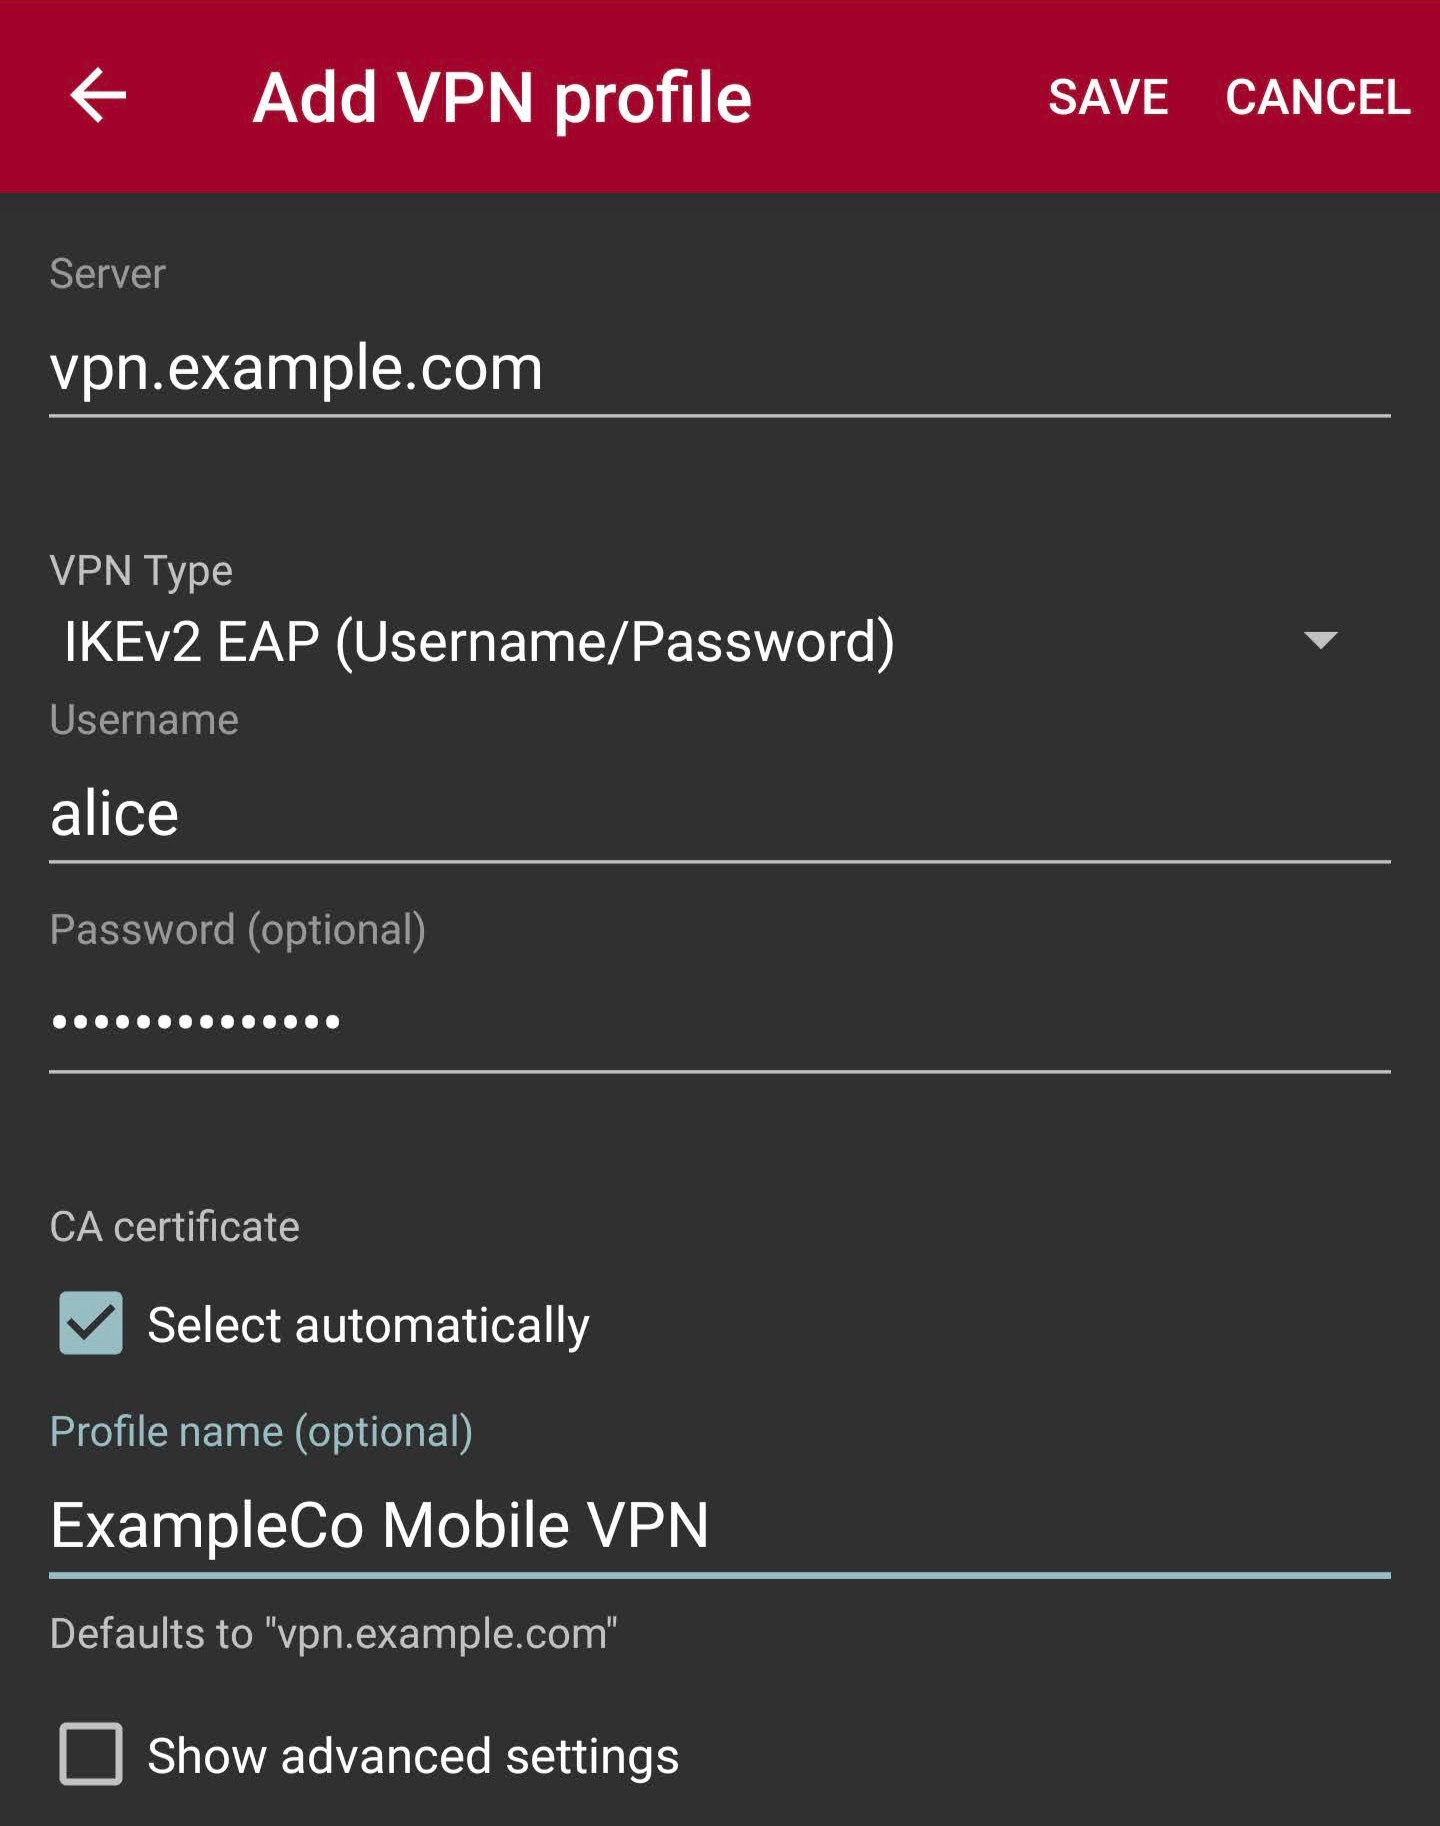
Android strongSwan Client Settings
Connecting and Disconnecting
To Connect:
Open the strongSwan app
Tap the desired VPN
Check I trust this application at the security prompt as shown in Android strongSwan Client Settings
Tap OK
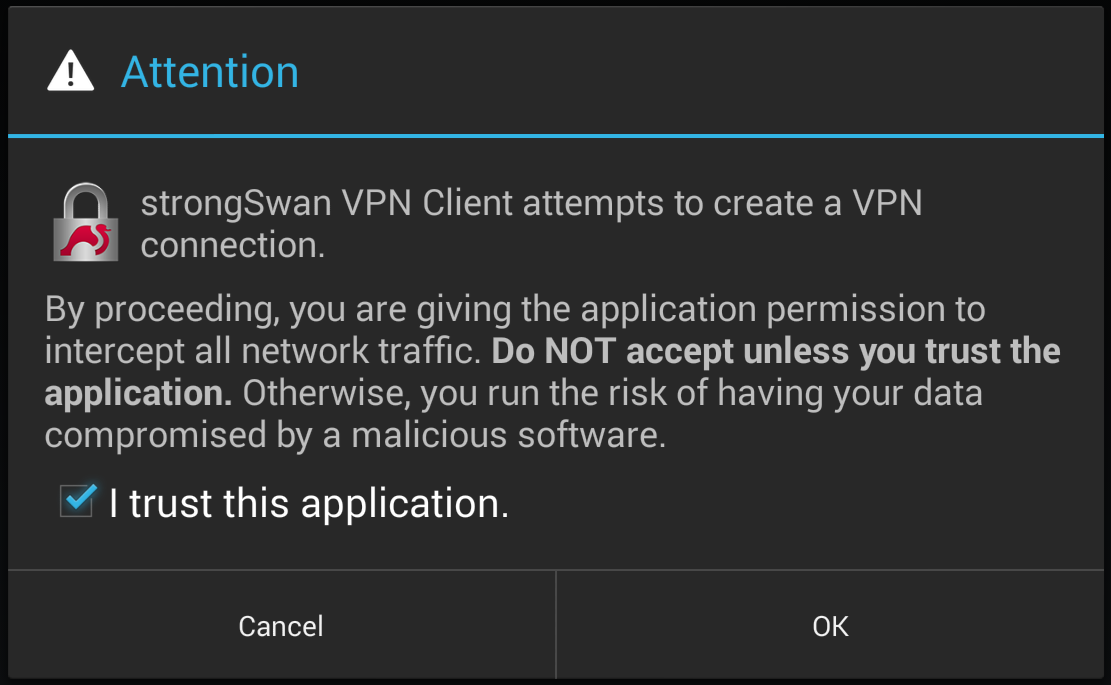
Android strongSwan Client Settings
To Disconnect:
Swipe down from the top notification bar
Tap the strongSwan entry in the notification list
Tap Disconnect
Alternately:
Open the strongSwan app
Tap Disconnect on the desired VPN