Installing the Wall Mount Kit
This page shows how to install the optional Netgate 1100 Wall Mount Kit.
Tip
Save the Netgate 1100 MAC Address, Serial Number, and NDI, located on the bottom of the system, before attaching the Netgate 1100 to the wall.
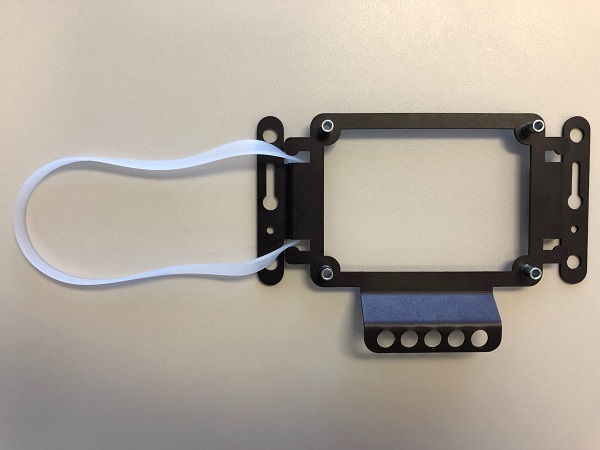
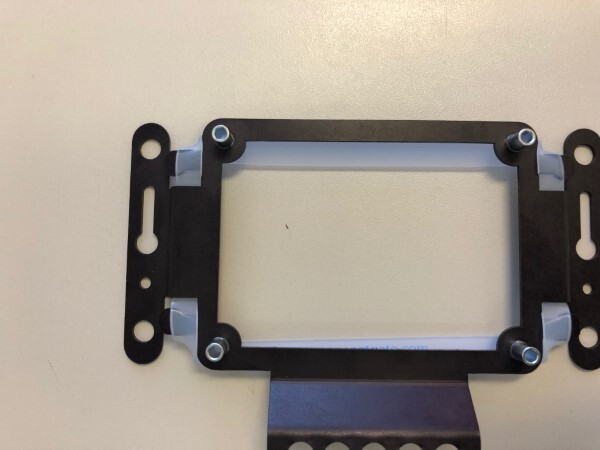
Loop one side of the Silicone Band under the wall mount of the Netgate 1100
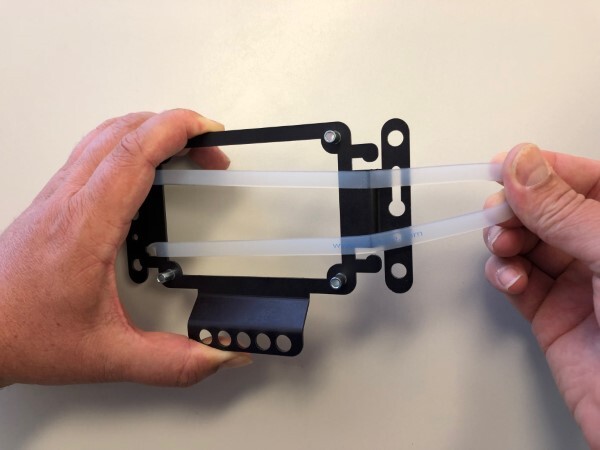
Stretch the Silicone Band to the opposite side of the wall mount
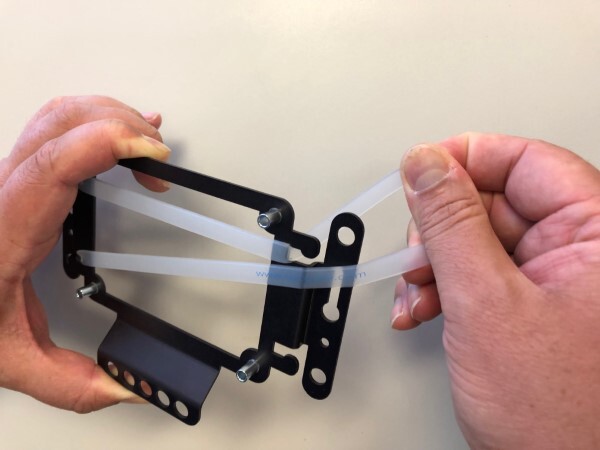
Loop the silicone band under the opposite side of the wall mount

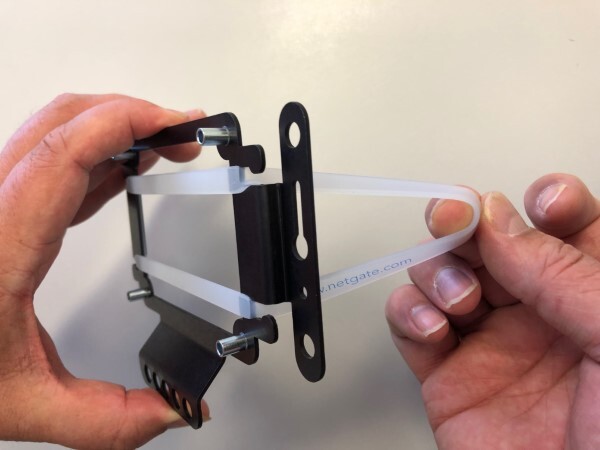
The silicone band should look like this
Tuck both sides of the silicone band under the wall mount
Note
Remove the rubber standoff feet from the Netgate 1100 prior to attaching to the wall mount. Do not remove the screws that are under the rubber standoff feet.
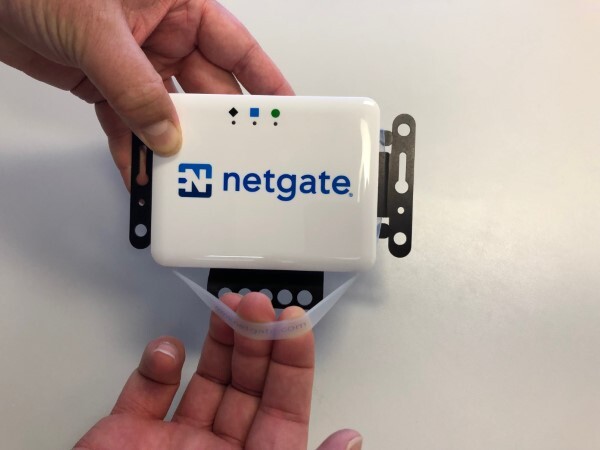
Place the Netgate 1100 over the silver aluminum standoffs on the wall mount and pull one side of the silicone band over the Netgate 1100, then the other
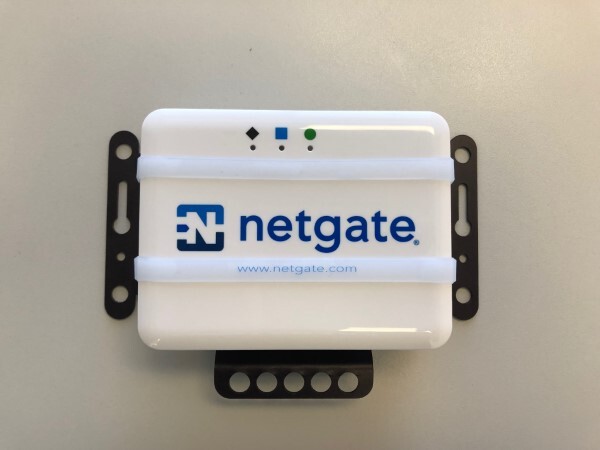
When mounted properly, the Netgate 1100 should look like this
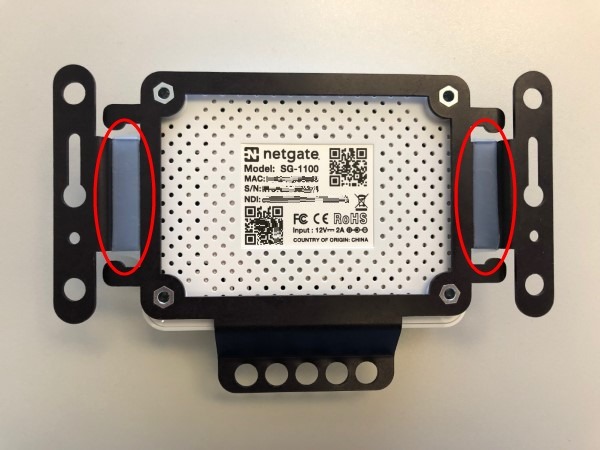
Note the silicone band under the Netgate 1100 when installed correctly
Tip
Remember to save the Netgate 1100 MAC Address, Serial Number, and NDI, located on the bottom of the system, before attaching the Netgate 1100 to the wall.
Hang the wall mount with the cables hanging down. Secure the cables to the holes on the wall mount with cable ties to relieve the weight from the ports.
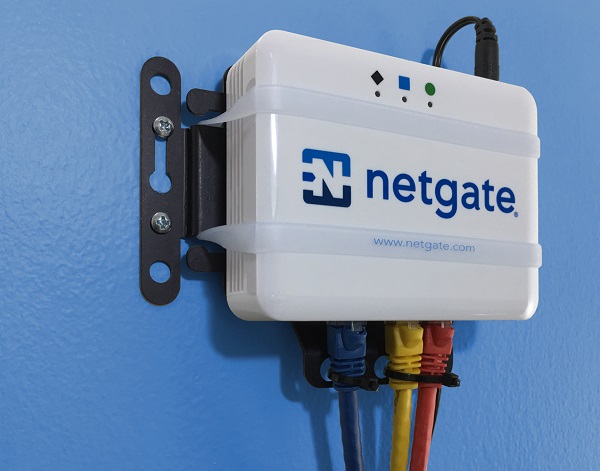
The Netgate 1100 wall mount kit correctly installed