Netgate 8200 Wall Mount
The Netgate 8200 has an optional Wall Mount Kit available. This page provides an overview for attaching the system to the wall.
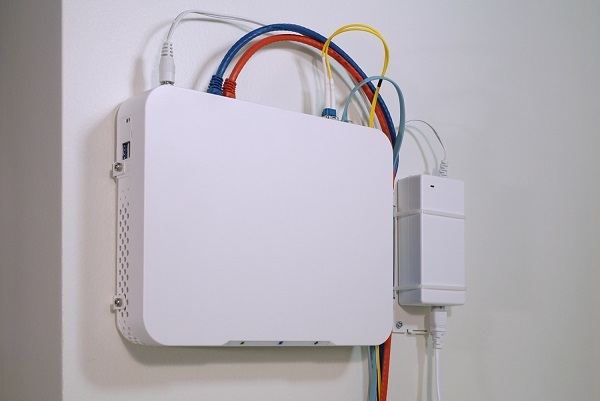
The Netgate 8200 Mounted Vertically
The Netgate 8200 can be mounted vertically or horizontally. If mounted horizontally, the ports and cables should face up to reduce the pull from the weight of the cables on the ports.
The Netgate 8200 Wall Mount Kit contains all the components necessary to mount the 8200.
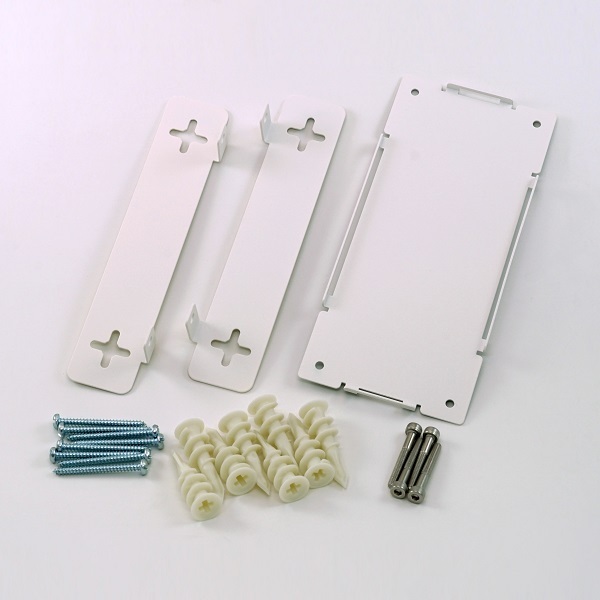
The Netgate 8200 Wall Mount Kit
The Netgate 8200 Wall Mount can be used in an inboard fashion, or an outboard fashion.
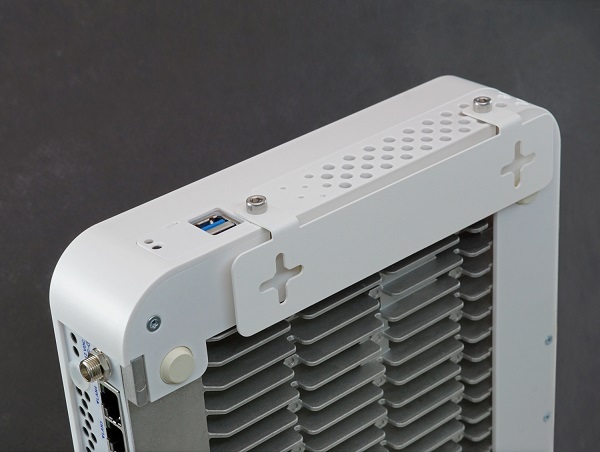
The Netgate 8200 Inboard Wall Mount Orientation
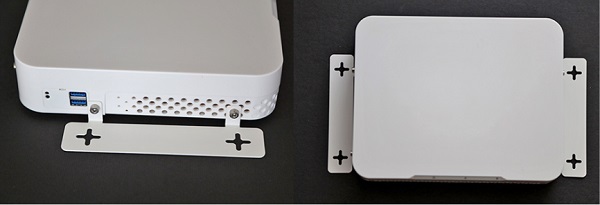
The Netgate 8200 Outboard Wall Mount Orientation
Inboard Wall Mount Instructions
Click on the button below to download the Wall Mount Template.
Inboard Wall Mount Template PDF
Note
The wall mount template is identical for the Netgate 4100, the Netgate 6100, and the Netgate 8200
Print the template out at 100% Scale for it to be accurate.
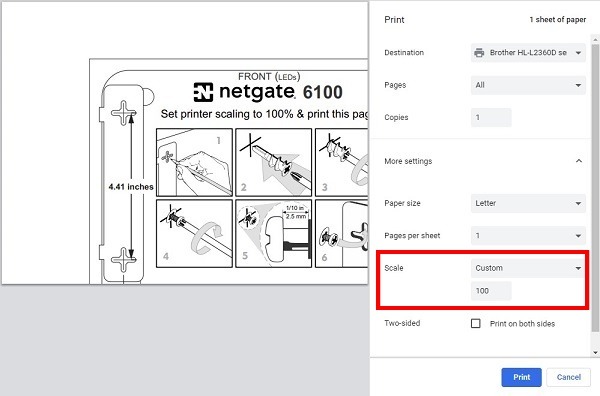
Note
The 100% Scale setting varies by printer manufacturer and model.
Follow the pictured instructions on the PDF to complete the wall mount installation.
Outboard Wall Mount Instructions
Click on the button below to download the Wall Mount Template.
Outboard Wall Mount Template PDF
Note
The wall mount template is identical for the Netgate 4100, the Netgate 6100, and the Netgate 8200.
There are two options to use the template:
Print out the first page at 100% Scale on 8.5” x 17” paper for it to be accurate.
Print pages 2 and 3 at 100% scale on 8.5” x 11” paper.
Each page has a dotted line. Cut along the lines and verify the dimensions before using it.
Note
The mounting brackets themselves can also be used to make the wall markings.
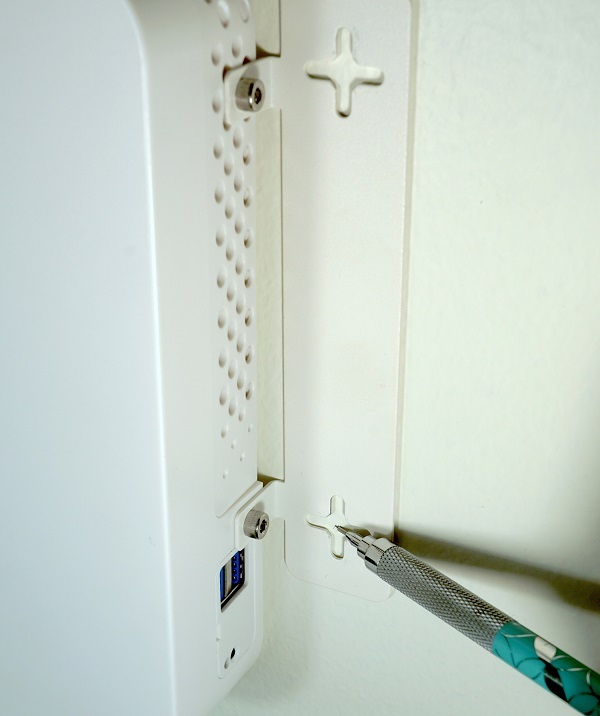
Using the Netgate 6100 Wall Mount Bracket to Mark the Screw Locations
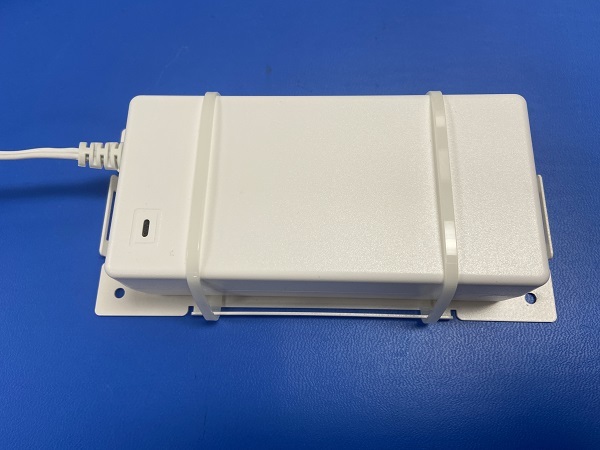
Mounting the Power Supply
The mounting bracket for the power supply uses two zip-ties to hold the power supply to the mounting bracket. There is no PDF for the Power Supply Bracket. Use the holes directly to mark the wall for mounting.
