Configuring pfSense Plus Software Instances
The web-based Netgate Nexus graphical user interface (GUI) enables administrators to configure individual instances of pfSense Plus, including the controller itself.
Note
This document assumes the controller is already enabled (Netgate Nexus Options in the pfSense Plus GUI), configured (Netgate Nexus Controller Setup), and has instances registered if using MIM (Instance Registration).
Before proceeding, open the Netgate Nexus GUI as described in Accessing the Netgate Nexus GUI and log in, after which the browser will be on the Netgate Nexus Dashboard.
Remote Configuration
Click the ![]() icon on an instance entry from the
Netgate Nexus Dashboard to open the remote configuration view.
icon on an instance entry from the
Netgate Nexus Dashboard to open the remote configuration view.
Remote Configuration View
Configuring individual instances of pfSense Plus software using the Netgate Nexus GUI works similarly to configuring those instances using their pfSense software GUI directly. The look and feel of the Netgate Nexus GUI configuration screens are different, but functions in both GUIs are under the same menu locations and offer the same options.
Areas where the behavior of the Netgate Nexus GUI differs from the pfSense software GUI are noted in this document.
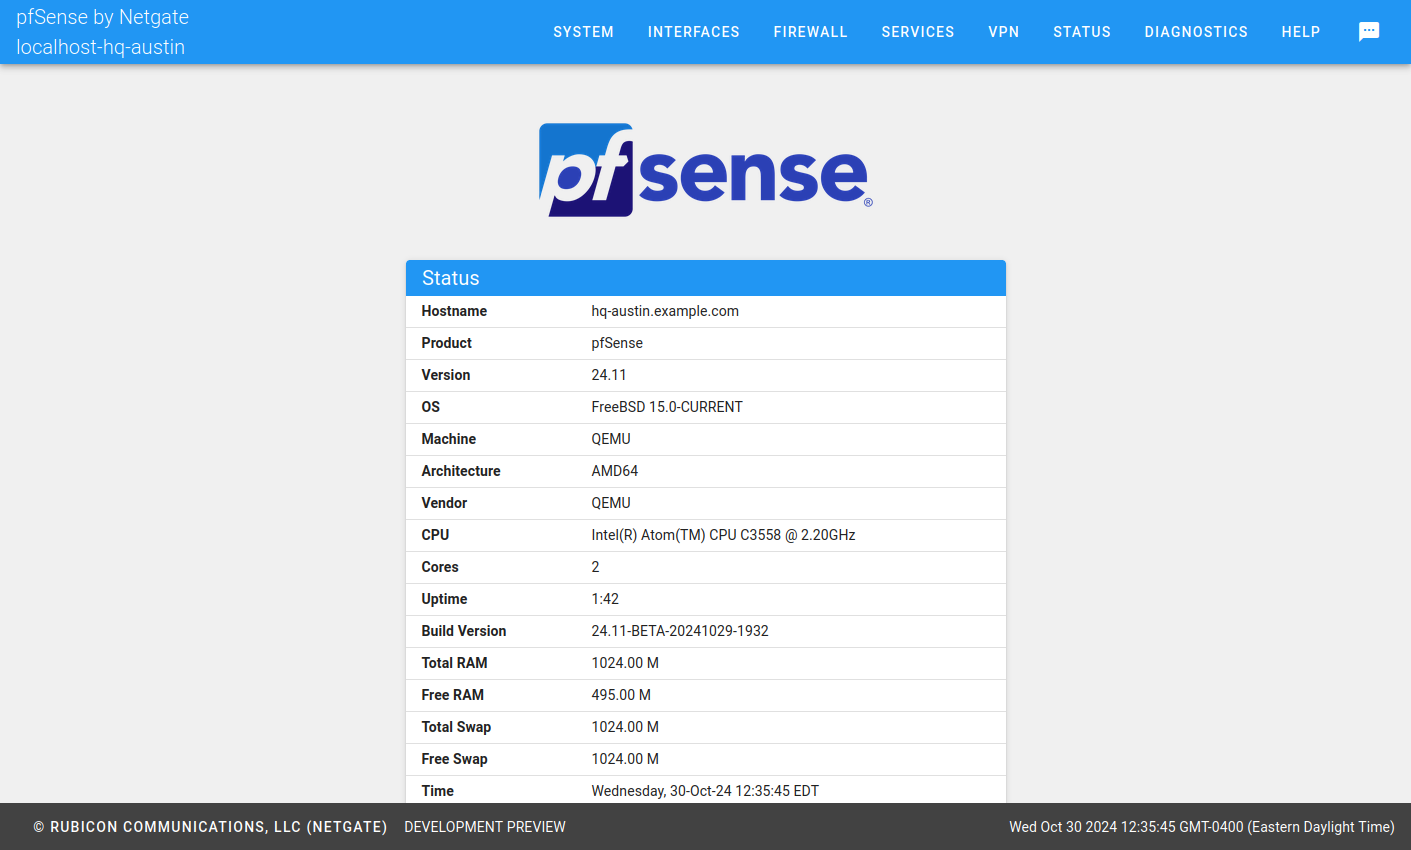
Instance Status / pfSense Software Dashboard
When opening the configuration view for an instance, the Netgate Nexus GUI presents a status page for the instance (Remote Configuration View). Though this page shares some similarity with the pfSense Software GUI dashboard, the instance status page in the Netgate Nexus GUI does not yet have the same functionality or widgets available.
Configuring Interfaces
Configuring interfaces via the Netgate Nexus GUI is different from using the pfSense software GUI. Rather than having individual menu entries, interfaces are managed from the assignment list.
To edit interface settings:
Open the remote device management view for an instance
Navigate to Interfaces > Assignments
Find the interface in list
Click
 at the end of its row to edit the interface settings