Netgate Nexus Controller Setup
Before instances of pfSense Plus software can be registered to the Netgate Nexus controller for tasks such as multi-instance management (MIM), there are several setup tasks to complete.
Enable Netgate Nexus Controller
The Netgate Nexus controller must be enabled and running before registering instances.
Open the pfSense Plus software WebGUI on the designated controller
Navigate to System > Advanced, Netgate Nexus tab
Check Enable
Configure any other options as needed (Netgate Nexus Controller Configuration Options)
Click Save
Firewall rules for Netgate Nexus
The Netgate Nexus controller does not automatically add firewall rules for the Netgate Nexus GUI or external controller VPN connectivity. Firewall rules are necessary for instances to connect the VPN itself and for administrators to reach the Netgate Nexus GUI. Configure these firewall rules on the controller host in the pfSense Plus software WebGUI.
Note
The Netgate Nexus controller automatically passes traffic tunneled through its VPN between the instances and the controller. There is no need to manage rules for that internal communication.
Allowing Incoming Netgate Nexus VPN Connections
Add a rule on WAN to pass connections to the Netgate Nexus VPN port.
Open the pfSense Plus software WebGUI on the designated controller
Navigate to Firewall > Rules, WAN tab
Note
WAN is used as an example. This could also be any other interface to which instances will connect.
Click
 to add a new rule at the top of the list:
Configure the rule with the following options:
- Action:
Pass
- Protocol:
UDP
- Source:
Any
Note
This is acceptable if instances have dynamic addresses. If all instances are static, consider creating an alias to allow only those addresses.
- Destination:
This Firewall (self)
Note
This could also be the specific interface or IP address instances use when connecting.
- Destination Port:
- From:
(Other)
- Custom:
_nexus_vpn_port_Note
This is a built-in alias which automatically contains the random port the controller selected to use for incoming VPN connections.
Click Save
Click Apply Changes
Allowing Netgate Nexus GUI Access
Access to the Netgate Nexus GUI is also restricted by firewall rules. If local interfaces or VPNs are restricted, rules must be added there as well. The ports for those rules are configured in the Netgate Nexus options (General Options).
Danger
Do not expose this port to the Internet. Limit access as much as possible. Use a VPN for remote access.
As with the pfSense Plus software WebGUI, the best practice is to restrict access to specific management hosts, networks, or VPN clients.
Accessing the Netgate Nexus GUI
To access the Netgate Nexus GUI, follow the links in the Netgate Nexus status under System > Advanced, Netgate Nexus tab (Viewing Netgate Nexus Status).
Use the HTTPS link to securely access the Netgate Nexus controller.
Note
If the Netgate Nexus controller is using a self-signed TLS certificate, then it may be necessary to click through an error in the browser warning about the validity of the self-signed certificate.
Netgate Nexus Authentication
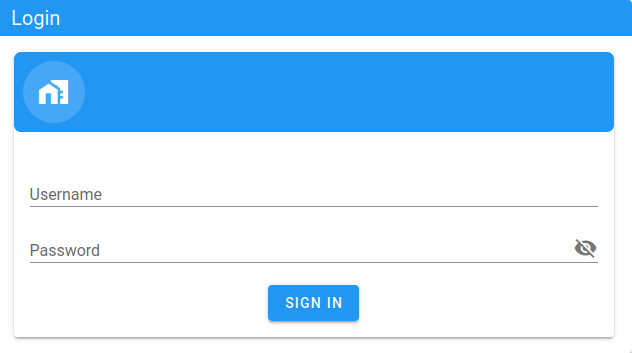
After following the link, the controller will display a login screen.
Tip
Bookmark this page for faster access.

Netgate Nexus Controller Login Screen
The Netgate Nexus controller uses the pfSense Plus software User Manager, so the same credentials will work for the Netgate Nexus controller that work for the pfSense Plus software WebGUI.
Enter valid credentials and click Sign In to access the Netgate Nexus GUI.