Launching an Instance
These instructions cover how to launch a new instance of the Netgate® pfSense® Plus firewall/VPN appliance from the Amazon EC2 Management Console.
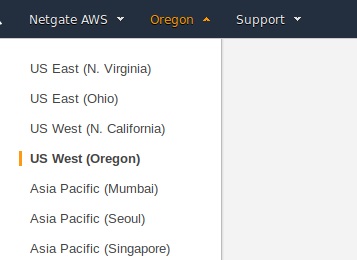
Select the region for the instance to run in using the region tab in the upper right corner of the page.
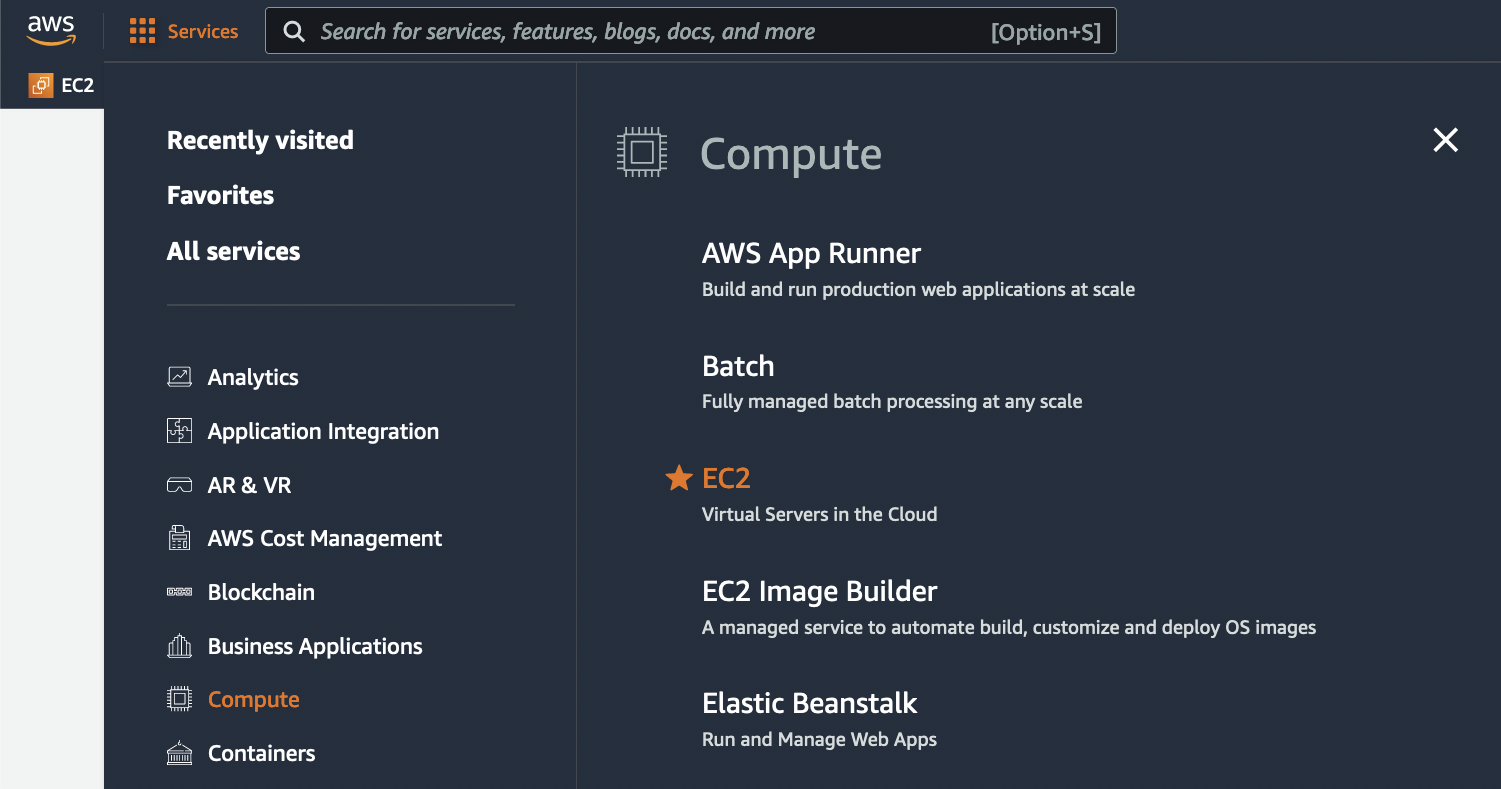
Select Services from the top navigation, and select Compute on the left navigation of the drop-down and then select EC2 on the main section of the drop-down.
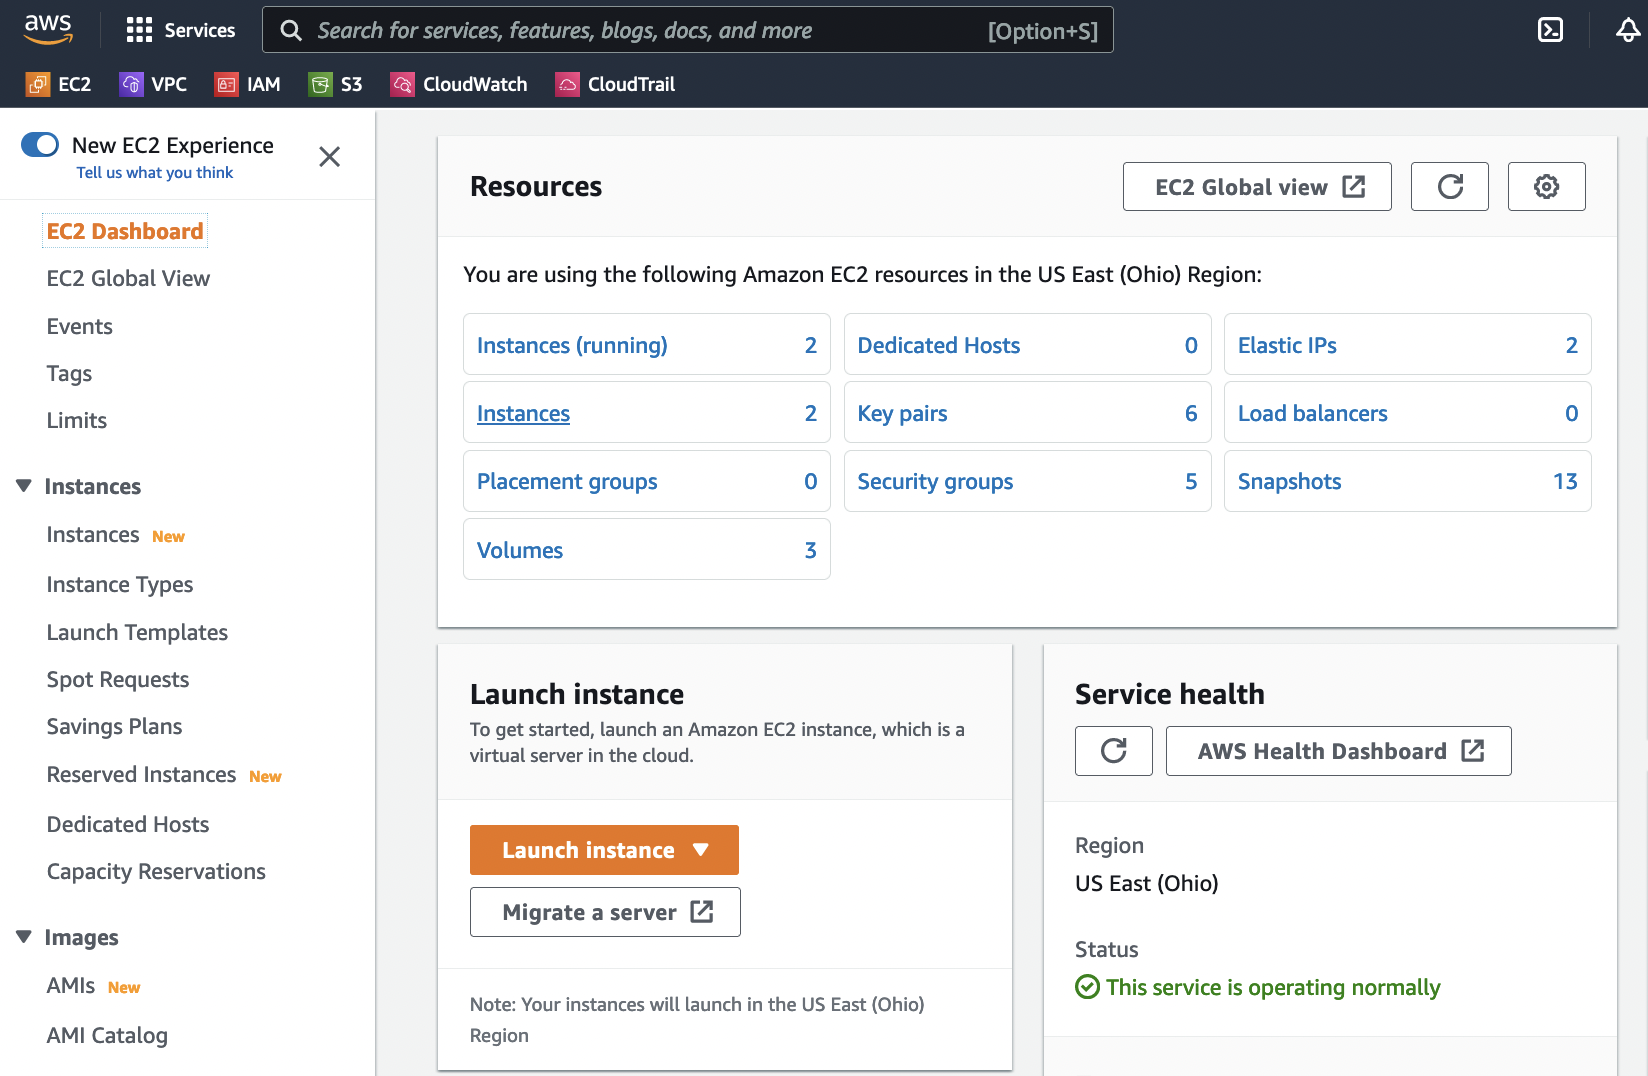
Launch a new instance by clicking on the Launch Instance button under the Resources section of the EC2 dashboard.
Name the instance something like
pfSenseand under the Application and OS Images, choose Browse more AMIs.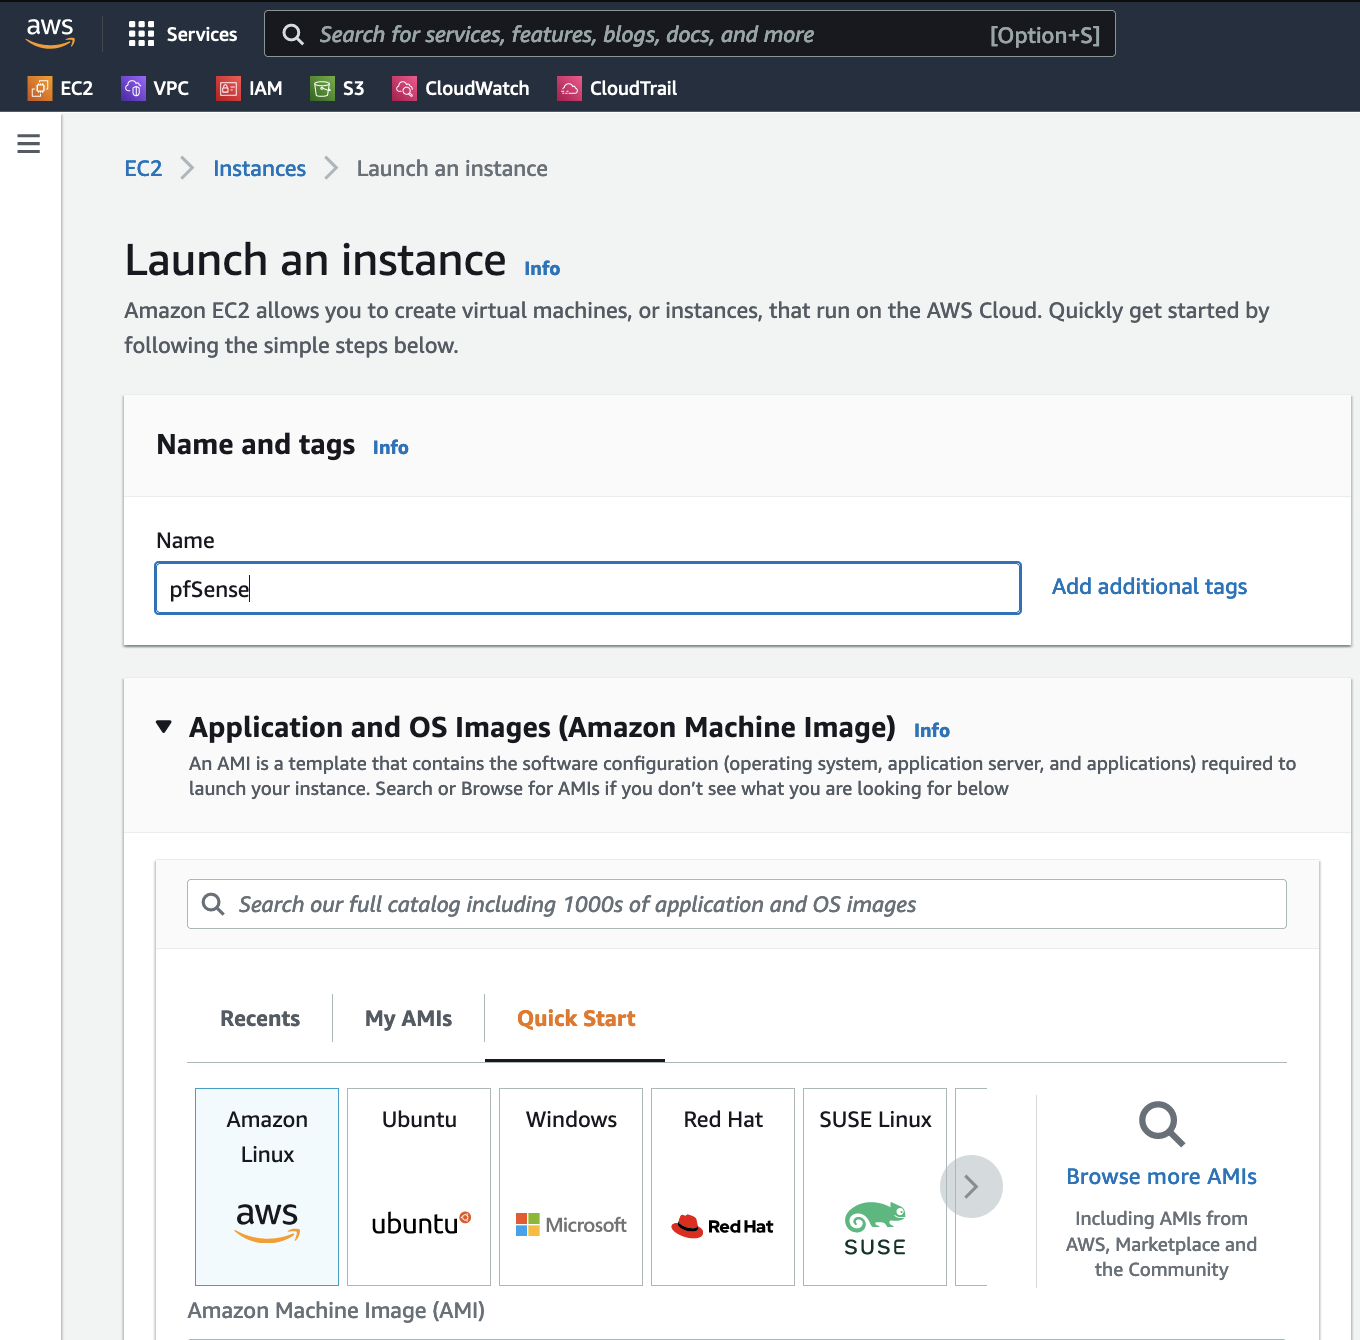
Type
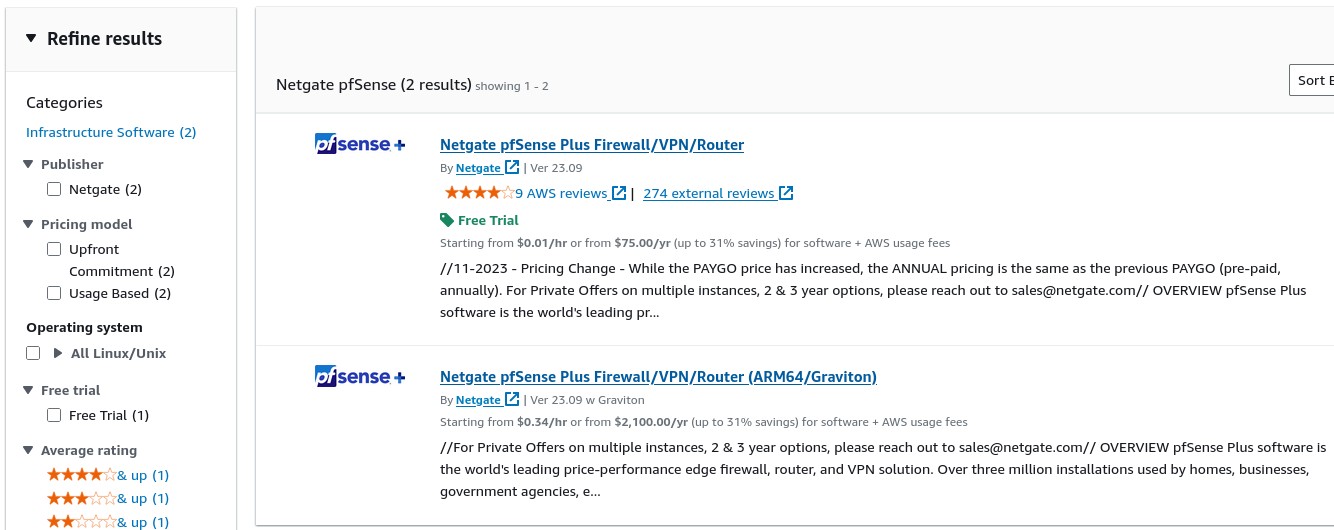
Netgate pfSensein the search box and pressEnter.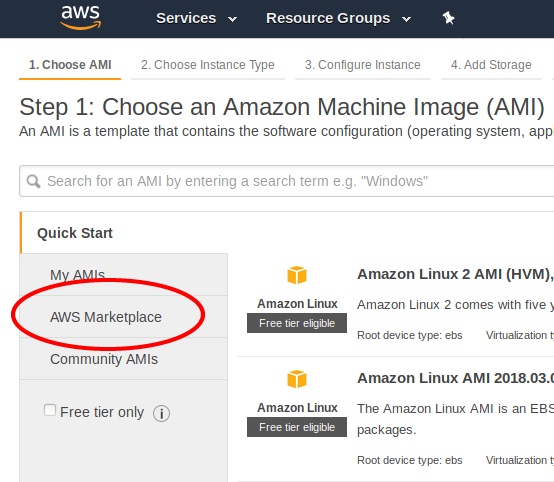
Click the Select button for the Netgate pfSense Plus Firewall/VPN/Router listing in the search result that corresponds to the desired type of instance. This could be either the amd64 AWS product or the arm64/Graviton AWS product depending on the needs of this deployment.
Review pricing and other helpful information, then click Continue.
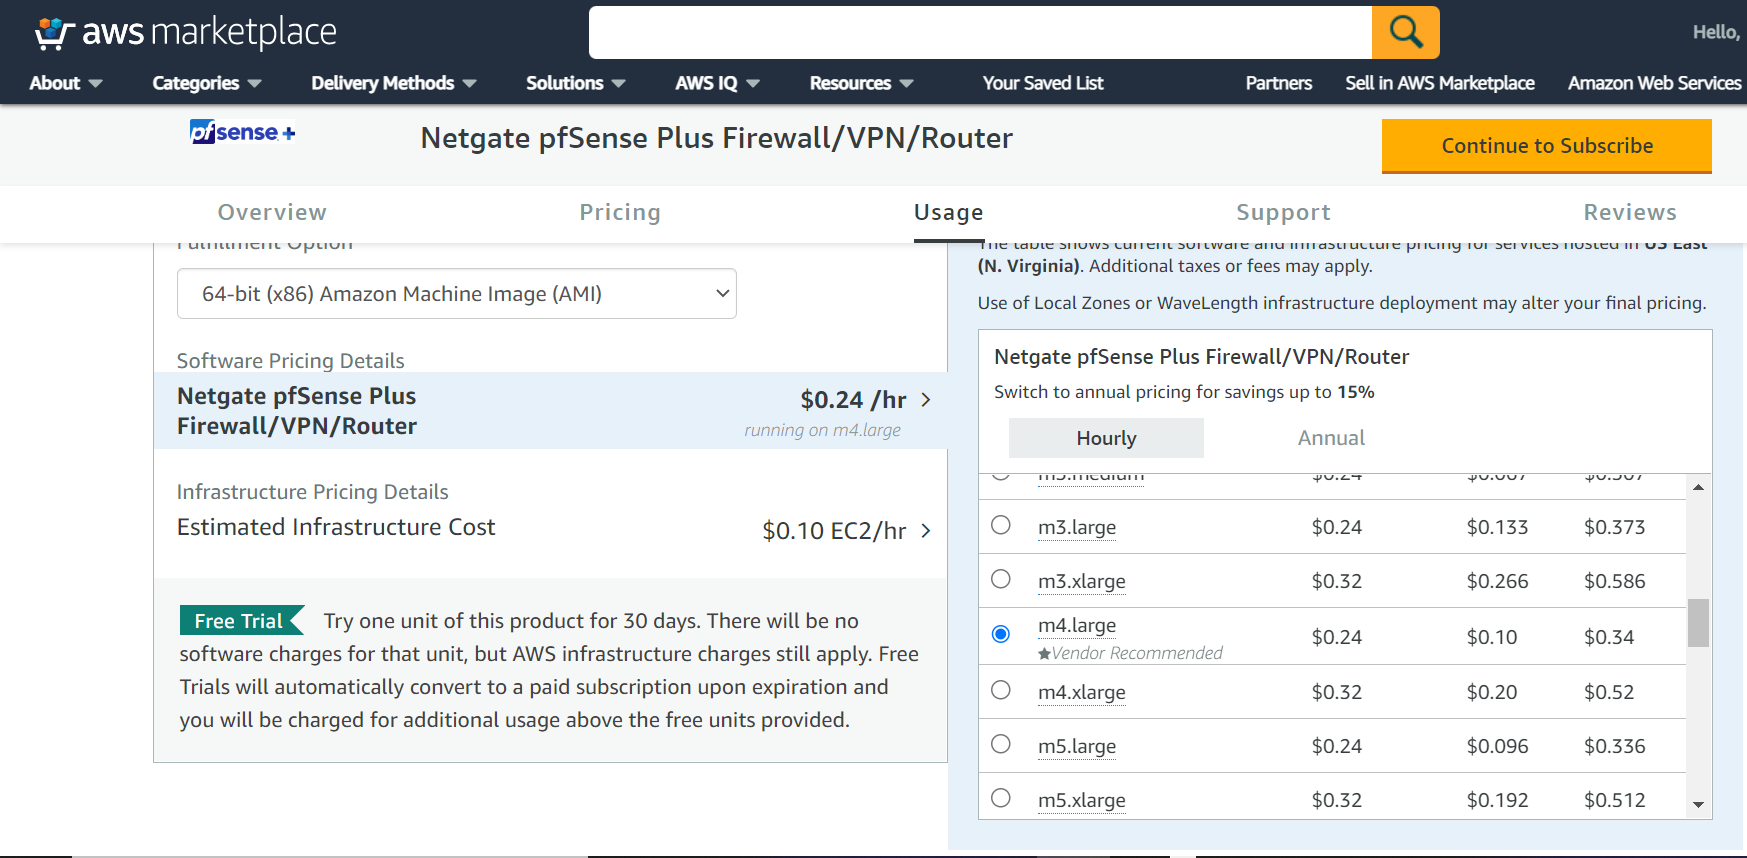
Note
There are no optional billable services for the pfSense Plus software. Information about Netgate TAC can be found on the Assistance Resources page.
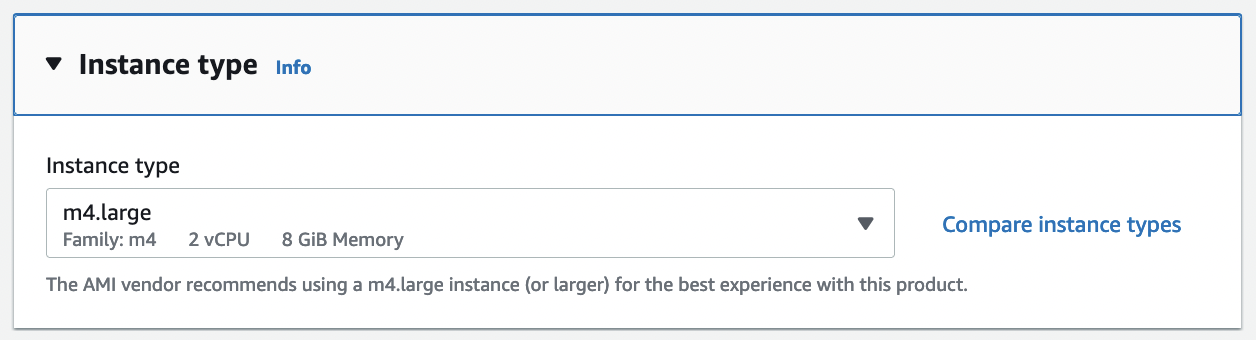
Select the desired instance type for the pfSense Plus software from the drop-down.
Choose the desired Network and Subnet that the instance will be deployed in. Choose any other instance-specific settings that may be required in the environment. Optionally expand the Advanced Details section and set parameters as text in the User Data field. The available options are:
- password:
Setting a value via a directive like
password=abcdefgwill set the password for the administrative account to the given value –abcdefgin this example. If no value is set here, a random password will be assigned in order to keep administrative access from being exposed to the Internet with a default password.Note
A password configured using this method cannot contain the characters
:or=, which are reserved for use as delimiters by the script which handles importing these values.- mgmtnet:
Setting a value via a directive like
mgmtnet=10.0.1.0/24will restrict management access (HTTP, HTTPS, SSH) to the given network –10.0.1.0/24in this example. This will cause the firewall rules on the instance (not on access lists in AWS, but on the Netgate pfSense® Plus appliance firewall rules) to restrict management traffic for the instance to the specified source network. The default behavior is to allow management from any host.
These directives can be set by placing them on a single line in the User Data field and separating them with colons. To specify both parameters, type a statement similar to this one:
password=abcdefg:mgmtnet=10.0.1.0/24
Note
If a password is set using the password parameter listed above, the password is retrieved by the instance via an unencrypted HTTP request when the system is configured the first time it boots. The request is made to an Amazon Web Services-operated server on the local LAN that stores metadata about each instance running. The data for an instance is only made available to that instance, but is available to be queried from the instance without providing any authentication credentials.
The best practice is to change the admin password via the pfSense® Plus GUI after the instance comes up to avoid any security risks associated with the unencrypted request. Otherwise, it is possible to choose not to set the password at all and let a random password be set.
Choose the desired Network and Subnet to which the Instance will be deployed. Scroll down to configure the network interface(s) with a Static or DHCP-assigned IP address.
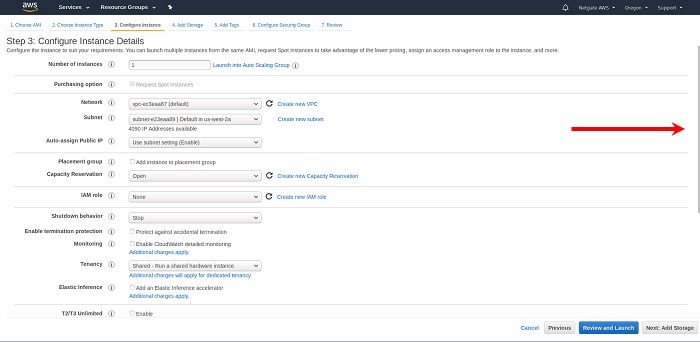
Once the Network Interface(s) are configured, select Next: Add Storage.

Click Next: Add Tags to accept the Storage Device Configuration.

The best practice is to set a tag that can be used to differentiate this instance from other instances by entering a value for the Name tag. Click Next: Configure Security Group after setting any desired tags.
Press the Add Tag button. Input
Nameunder the Key field and the desired Instance Tag Name under the Value field (e.g.Netgate Firewall/Router).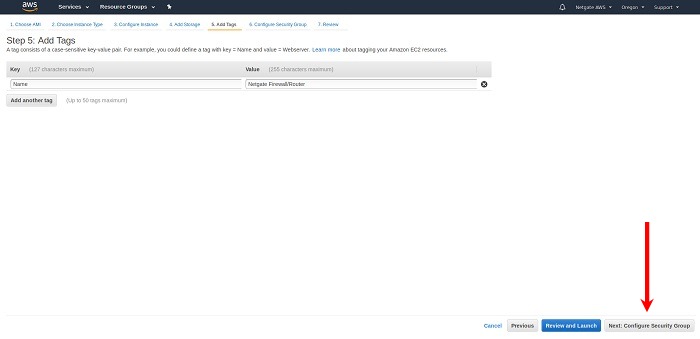
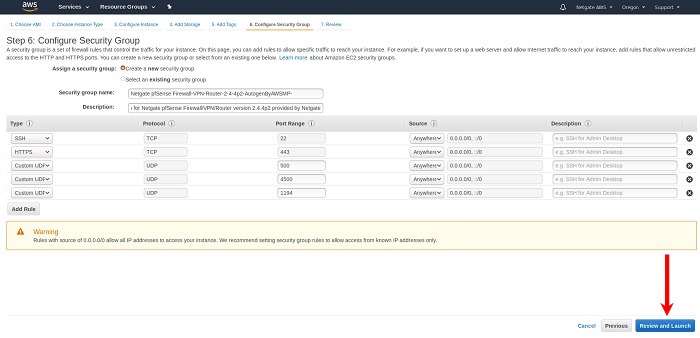
Select a security group to launch the instance with. The Security group name and Description fields can be left at the default, or replaced with the desired values.
The security group should allow at least the following traffic to start with:
TCP port
443from0.0.0.0/0HTTPS - This is the port that the management GUI listens on.
TCP port
22from0.0.0.0/0SSH - This port can be used to connect to a command prompt with an ssh client.
UDP port
1194from0.0.0.0/0OpenVPN - The OpenVPN server that is configured by default is bound to this port.
UDP port
500from0.0.0.0/0IKE for IPsec VPN.
UDP port
4500from0.0.0.0/0IPsec/NAT-T for IPsec VPN.
Note
If there is an existing security group that includes this access, click Select an existing security group, then select the desired group(s) to use and click Continue. Otherwise, select Create a new security group, and add rules for this access by filling in the form for each rule and clicking the Add Rule button. When all the rules have been added, click Review and Launch.
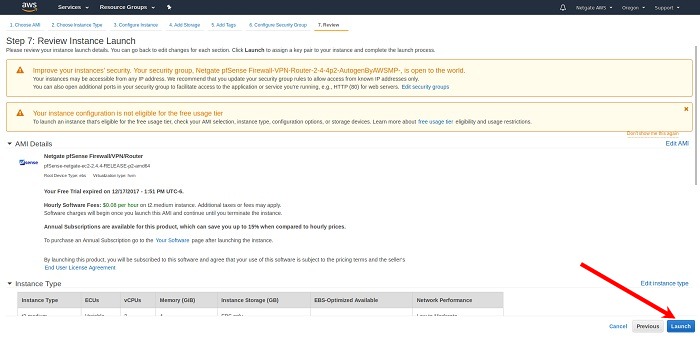
Review any AWS warnings and make note of recommendations. Scroll down to review the remaining instance details and click Launch after making any needed adjustments.
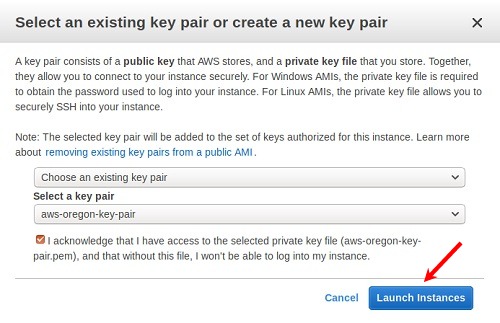
Select an existing key pair or create a new key pair to connect to the instance with. Click the checkbox that indicates acknowledgment of access to the selected private key file and then click Launch Instances.
Important
Do NOT select the Proceed Without a Key Pair option.