Plug the power cable into the power port (shown in the Input and Output Ports section) to turn on the Netgate®
Firewall. Allow 4 or 5 minutes to boot up completely.
Warning
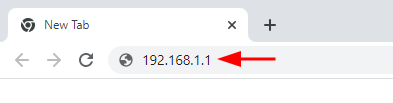
If the ISP Customer Premise Equipment (CPE) on WAN (e.g. Fiber or Cable
Router) has a default IP Address of 192.168.1.1, disconnect the Ethernet
cable from the WAN1 port on the Netgate 6100 Security Gateway before proceeding.
Change the default LAN IP Address of the device during a later step in the
configuration to avoid having conflicting subnets on the WAN and LAN.
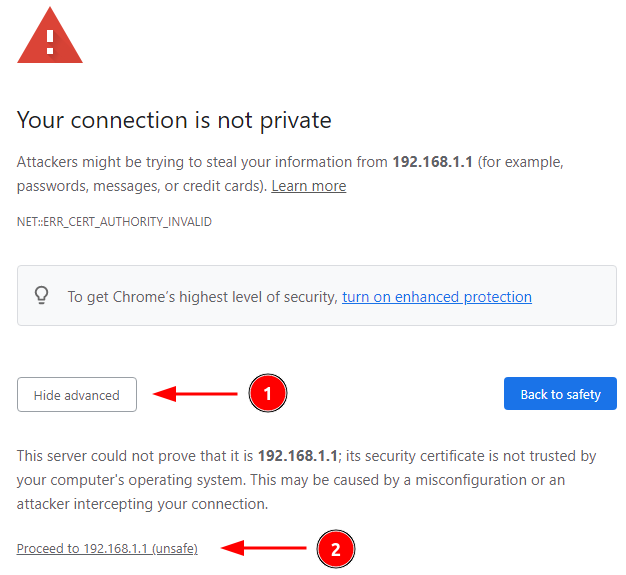
A warning message may appear. If this message or similar message is
encountered, it is safe to proceed. Click the Advanced Button and then
click Proceed to 192.168.1.1 (unsafe) to continue.
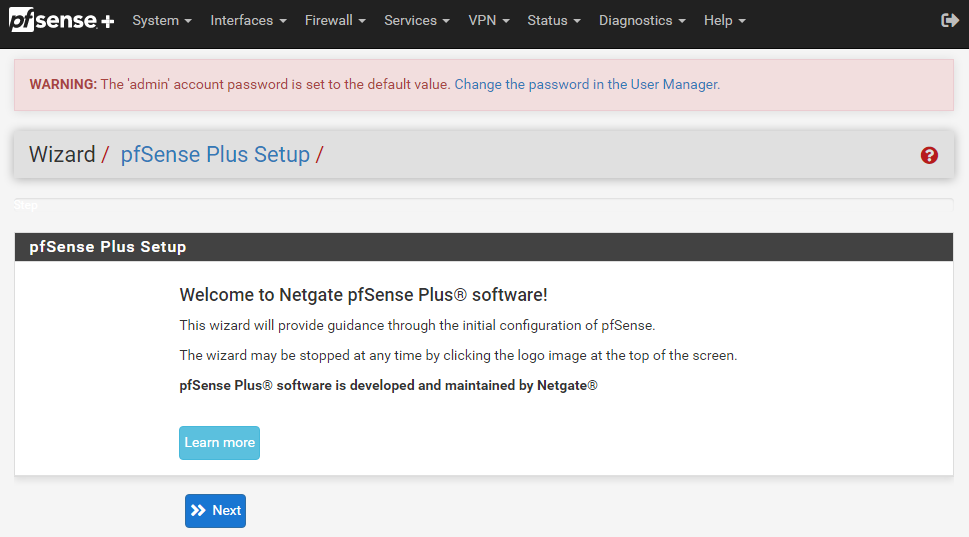
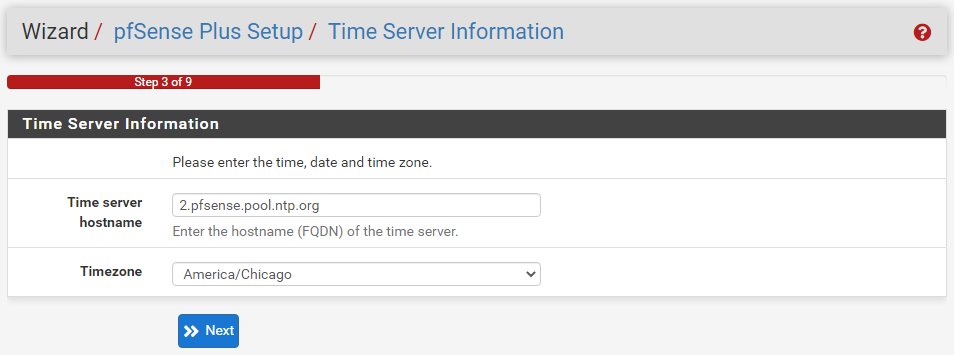
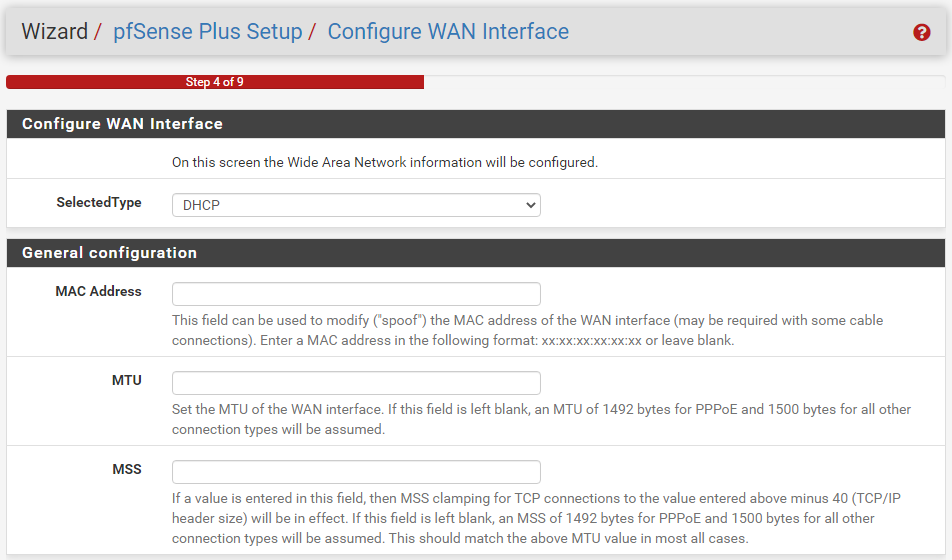
This section steps through each page of the Setup Wizard to perform the initial
configuration of the firewall. The wizard collects information one page at a
time, but it does not make any changes to the firewall until the wizard is
completed.
Tip
The wizard can be safely stopped at any time for those who wish to perform
the configuration manually or restore an existing backup (Backup and
Restore).
To stop the wizard, navigate away from the wizard pages by clicking the logo
in the upper left of the page or by choosing an entry from one of the menus.
Note
Ignore the warning at the top of each wizard page about resetting the
admin account password. One of the steps in the Setup Wizard is to change
the default password, but the new password is not applied until the end of
the wizard.
Click Next after reading the information on Netgate Global Support.
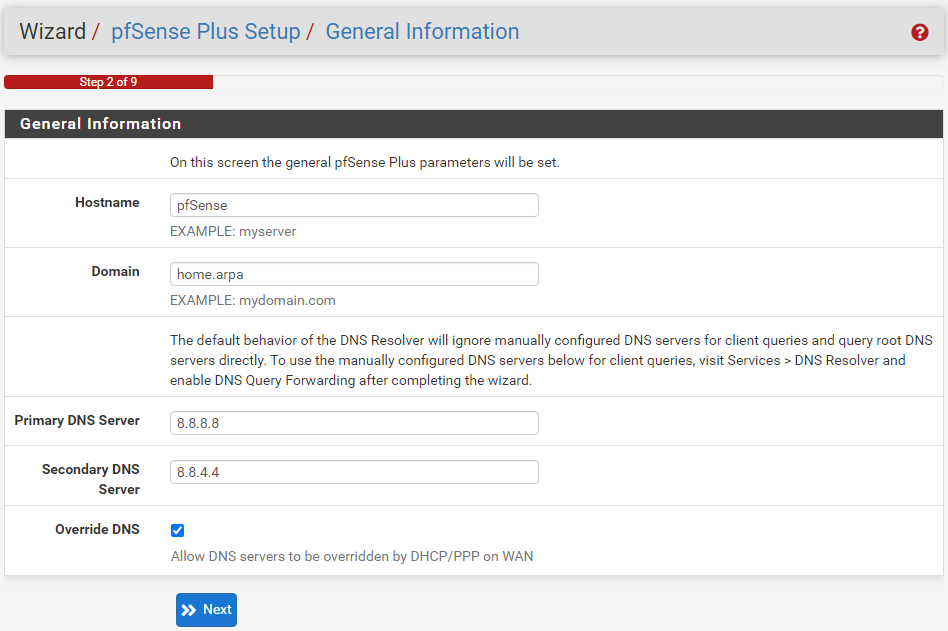
Use the following items as a guide to configure the options on the General
Information page:
Hostname:
Any desired hostname name can be entered to identify the firewall. For the
purposes of this guide, the default hostname pfsense is used.
Domain:
The domain name under which the firewall operates. The default
home.arpa is used for the purposes of this tutorial.
DNS Servers:
For purposes of this setup guide, use the Google public DNS servers
(8.8.8.8 and 8.8.4.4).
Note
The firewall defaults to acting as a resolver and clients will not
utilize these forwarding DNS servers. However, these servers give the
firewall itself a way to ensure it has working DNS if resolving the
default way does not work properly.
Default settings should be acceptable. Click Next.
Configuring LAN IP Address & Subnet Mask. The default LAN IP address of
192.168.1.1 and subnet mask of 24 is usually sufficient.
Tip
If the CPE on WAN (e.g. Fiber or Cable Modem) has a default IP Address of
192.168.1.1, the Ethernet cable should be disconnected from the WAN1
port on the Netgate 6100 Security Gateway before starting.
Change the default LAN IP Address of the device during this step in the
configuration to avoid having conflicting subnets on the WAN and LAN.
Change the Admin Password. Enter the same new password in both fields.
Click Reload to save the configuration.
After a few seconds, a message will indicate the Setup Wizard has completed.
To proceed to the pfSense® Plus dashboard, click Finish.
Note
This step of the wizard also contains several useful links to Netgate
resources and methods of obtaining assistance with the product. Be sure to
read through the items on this page before finishing the wizard.
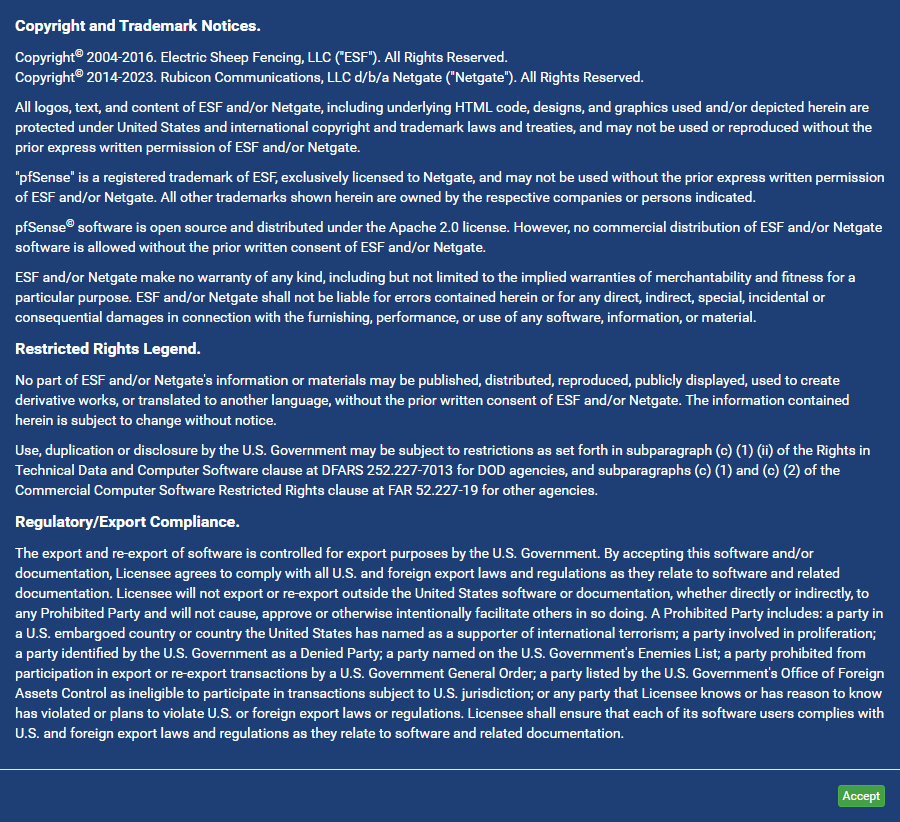
After completing or exiting the wizard, during the first time loading the
Dashboard the firewall will display a notification modal dialog with the
Copyright and Trademark Notices.
Read and click Accept to continue to the dashboard.