Activating the Service Console using SSH
Remove the USB memstick once the installation has completed
Allow the RCC Series unit reboot post-install
ESX will have obtained an IP address via DHCP. Locate the IP address it obtained from the DHCP server.
Launch the vSphere client and connect to the IP address found in the previous step, using the username
rootand the password configured during the installation.
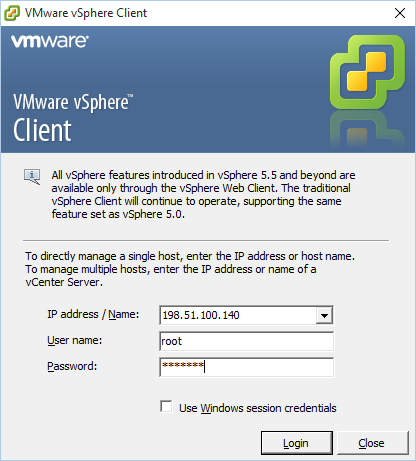
Inside vSphere, enable SSH as follows:
Click on the server name in the left pane, typically the ESX units IP address
Click on the Configuration tab
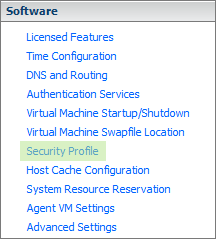
Click Security Profile in the Software section
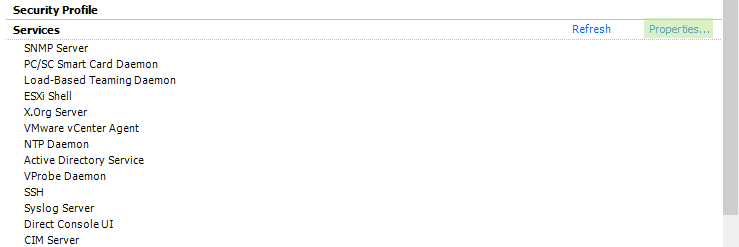
Click Properties in the Services section
Locate SSH in the list, click it and then click Options
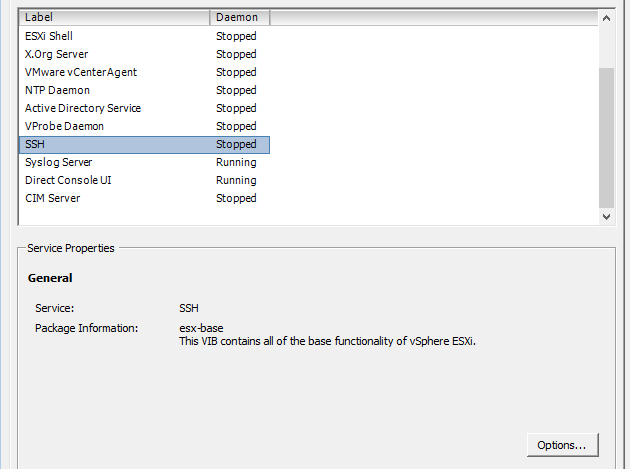
Select Start and stop with host, then click OK
Open the SSH service again and click Start
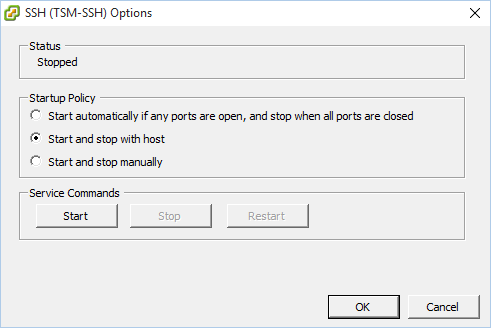
Click OK
Use another system on the same LAN and connect to the ESX server using SSH
From the shell, locate the boot configuration:
find / -name boot.cfg

Edit each instance found using the
vieditor, for example:vi /vmfs/volumes/1c6872e4-a3ca960f-86ae-fdb7de376913/boot.cfg
In each file, add the following text at the end of the
kerneloptline, leading with aSpace(move the cursor to the end of the line and pressa, thenSpace):text nofb com2_baud=115200 com2_Port=0x2f8 tty2Port=com2 gdbPort=none logPort=none

Save the file (Press
Esc, then type:wqand pressEnter)
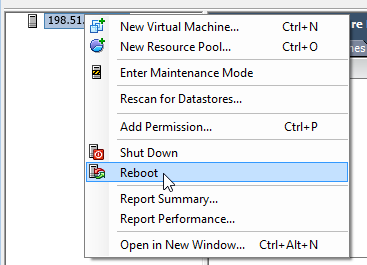
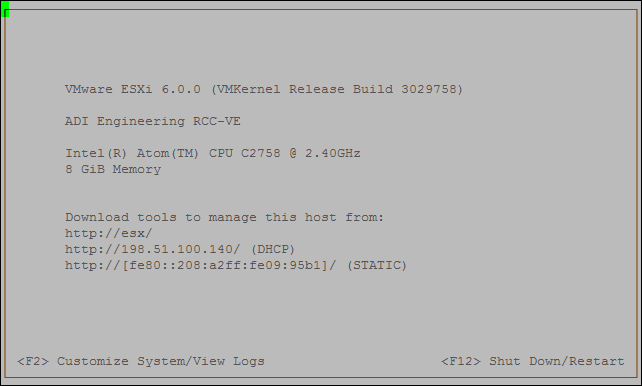
Reboot the ESX server and check the console, it will now be operational.
Note
If the system does not boot from the eMMC, ensure that the BIOS has been
updated to version 06 or later. With BIOS version 06, during the boot process
the boot order can be changed to prefer the eMMC by pressing F12, the
option for Payload (e.g. 7), then enter the letter for the eMMC (e.g.
i), followed by E to save and exit.