Activating the Service Console using a Bootable Rescue Disk
The section covers editing VMware boot configuration installed on the eMMC drive with a CentOS 6.7 rescue disk.
After installing ESXi to eMMC, download CentOS 6.7 in order to boot the
recovery environment which allows editing of the boot.cfg as was done on the
USB memstick for installation. This will allow ESXi to boot correctly on the
RCC-VE.
Download CentOS 6.7, make sure it is not CentOS 7 because the boot procedure
is different. The image file CentOS-6.7-x86_64-minimal.iso was used in this
example.
Write CentOS 6.7 to a USB memstick with Etcher, dd, or another similar
utility.
After flashing CentOS to the USB memstick, plug it in the top USB port of the RCC-VE unit and power-cycle or turn it on.
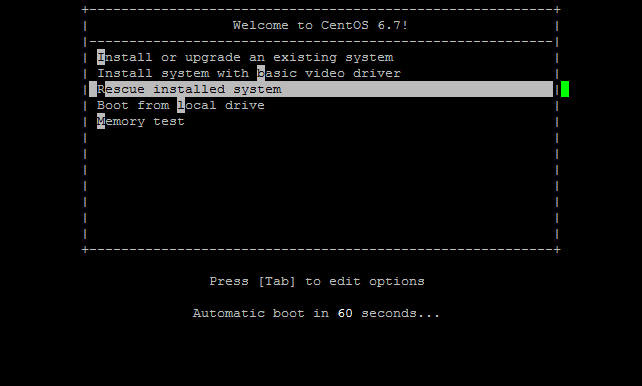
At the screen with countdown, highlight Rescue installed system and press
Tab.
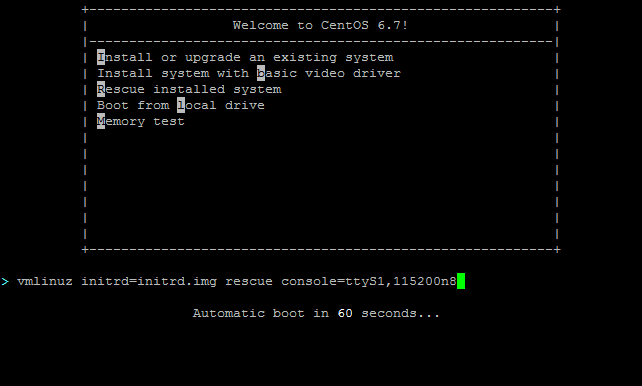
After pressing Tab, press Space and add console=ttyS1,115200n8 to
the line so it looks like the following screenshot. Then press Enter:
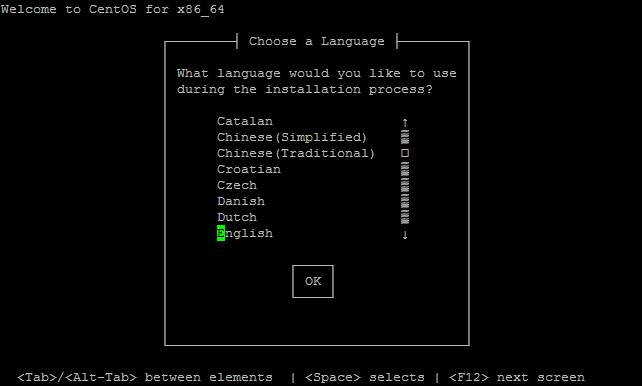
Wait for the CentOS recovery disk to boot and select an appropriate Language.
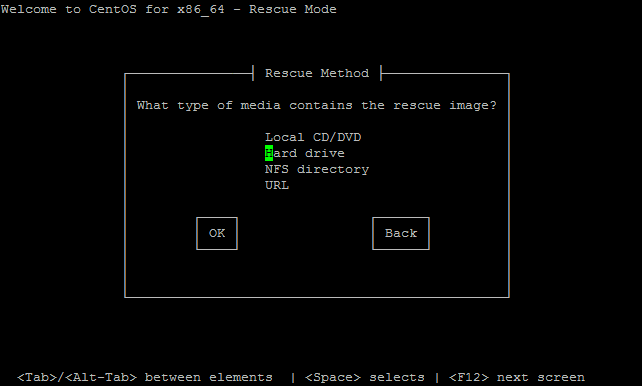
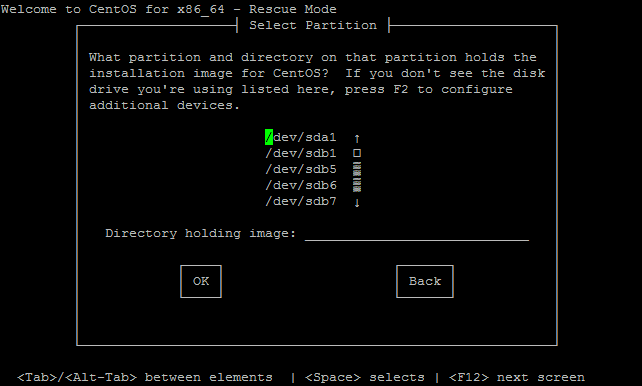
On the Rescue Method media selection screen select Hard Drive.
On the Select Partition screen, choose /dev/sda1
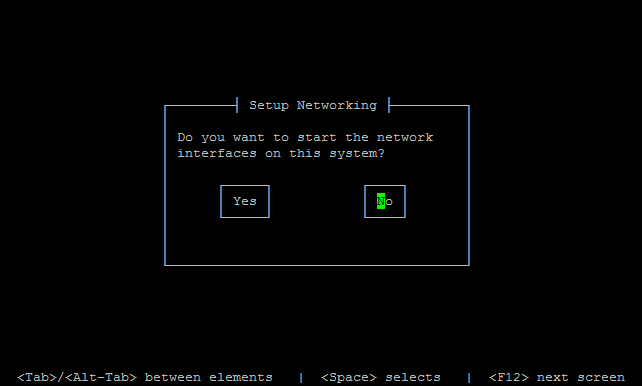
After a short wait, under Setup Networking select NO.
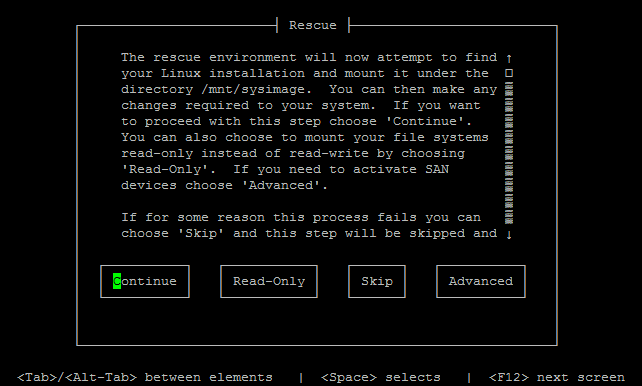
Select Continue on the Rescue screen.
Select OK on the warning screen.
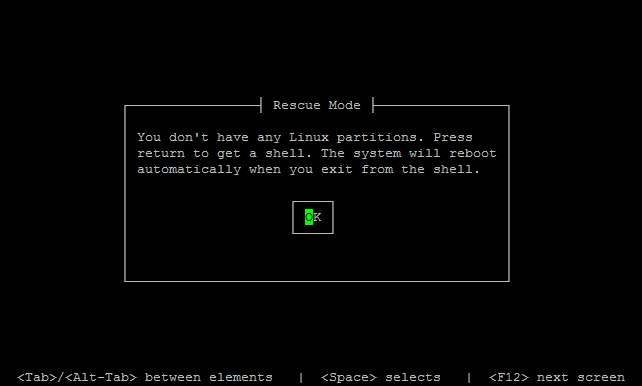
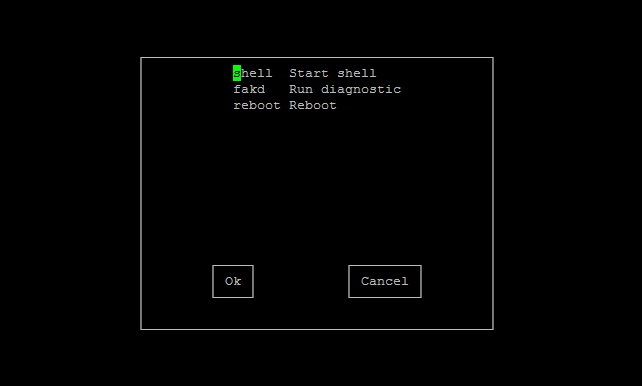
Select shell and press Enter.
Once the shell has started, create a temporary mount point for sdb5 where
boot.cfg is located. Type the following commands:
mkdir /tmp/mnt2
mount /dev/sdb5 /tmp/mnt2

Continue with the next commands:
cd /tmp/mnt2
ls
The last command will list the contents of mnt2
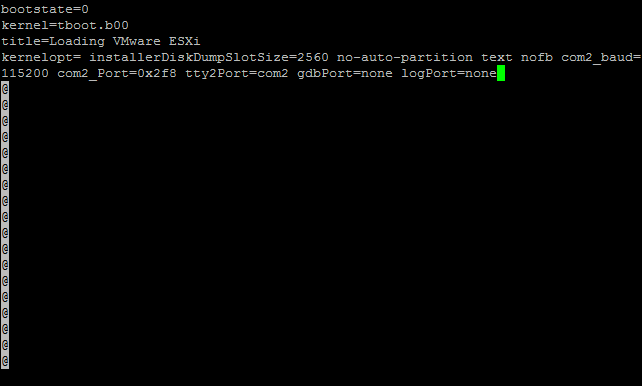
Now open boot.cfg file with command: vi boot.cfg

Next, add the following text at the end of the kernelopt line, leading with
a Space (move the cursor to the end of the line and press a, then
Space):
text nofb com2_baud=115200 com2_Port=0x2f8 tty2Port=com2 gdbPort=none logPort=none
Save the file (Press Esc, then type :wq and press Enter).
Reboot the CentOS recovery disk and remove the USB memstick.
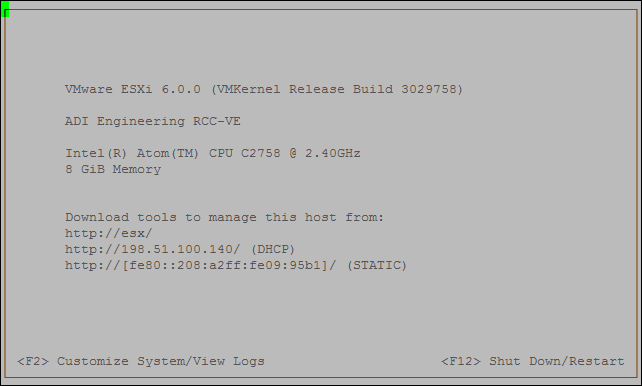
ESXi is now installed and ready to use. Login with the vSphere client to connect to ESXi.
Note
If the system does not boot from the eMMC, ensure that the BIOS has been
updated to version 06 or later. With BIOS version 06, during the boot process
the boot order can be changed to prefer the eMMC by pressing F12, the
option for Payload (e.g. 7), then enter the letter for the eMMC (e.g.
i), followed by E to save and exit.