Launching an Instance
These instructions cover how to launch a new instance of the Netgate® TNSR® appliance from the Amazon EC2 Management Console.
Login to AWS, for example by navigating to https://console.aws.amazon.com/
Note
This URL may be different if using other login functions, such as an IAM role or SSO authentication.
Select the region for the instance to run in:
Click the current Region name near the upper right corner of the page
Select a new region if necessary

Navigate to the EC2 console
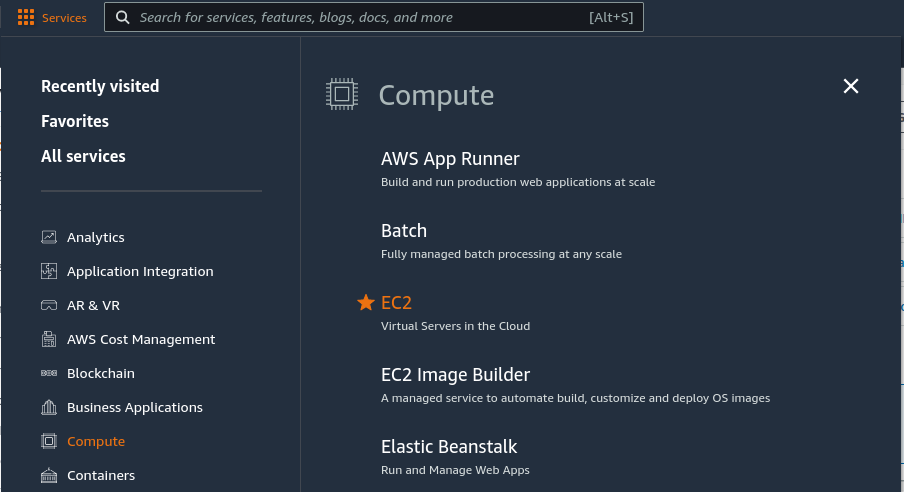
Click Services near the top left corner of the page
Click Compute on the left navigation menu
Click EC2 on the main section of the menu
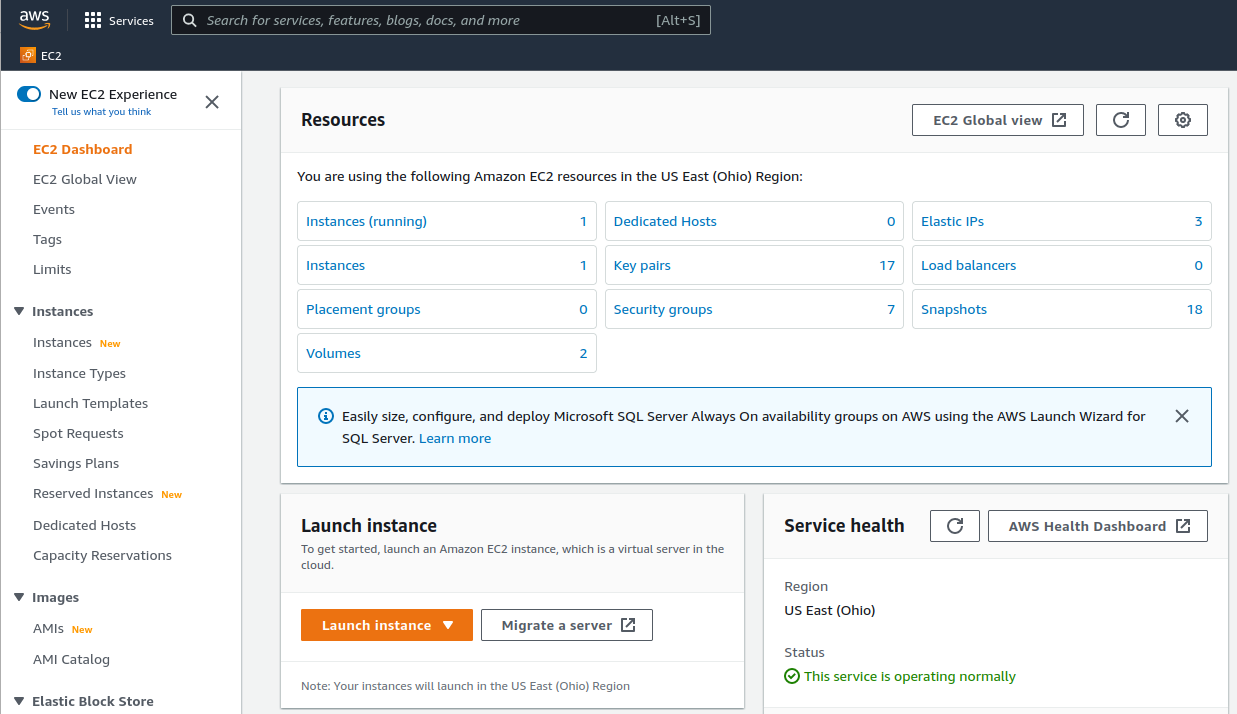
Enter the Launch Instance Wizard
Click the Launch Instance button to open the Launch Instance menu
This button is in the Launch Instance section which is located under the Resources section of the EC2 dashboard.
Click Launch Instance from the menu
Give the new instance a Name, such as
TNSROptionally, click Add Additional Tags to create more tags which can be used to identify and locate this instance.
Type
Netgate TNSRin the search box and pressEnter.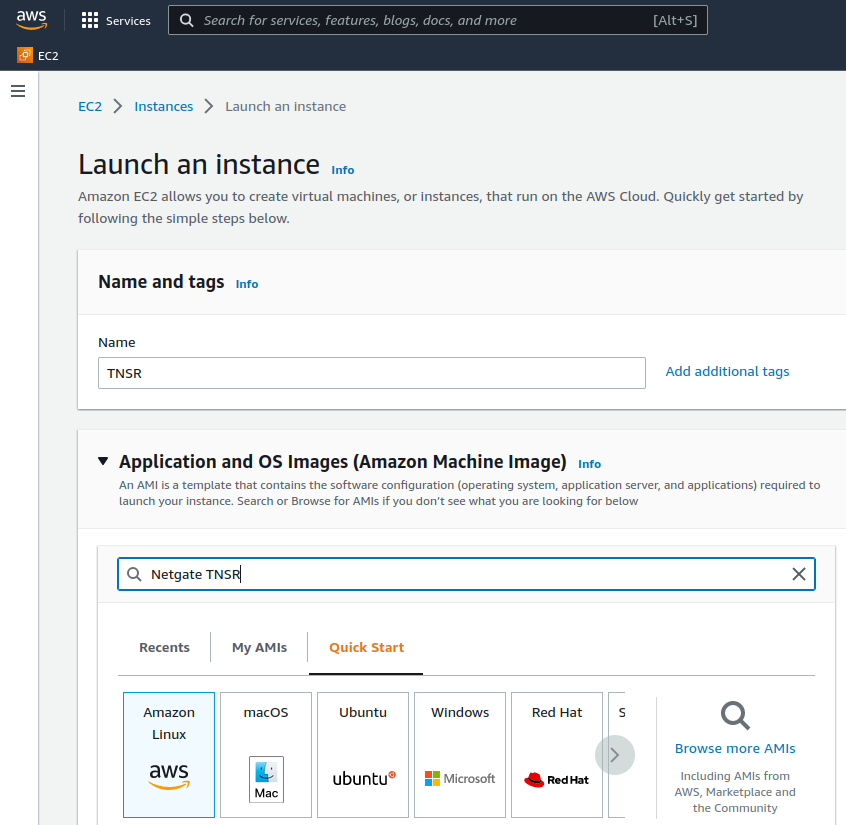
Select AWS Marketplace AMIs if it is not automatically highlighted
Click the Select button for the Netgate TNSR vRouter entry in the search results.
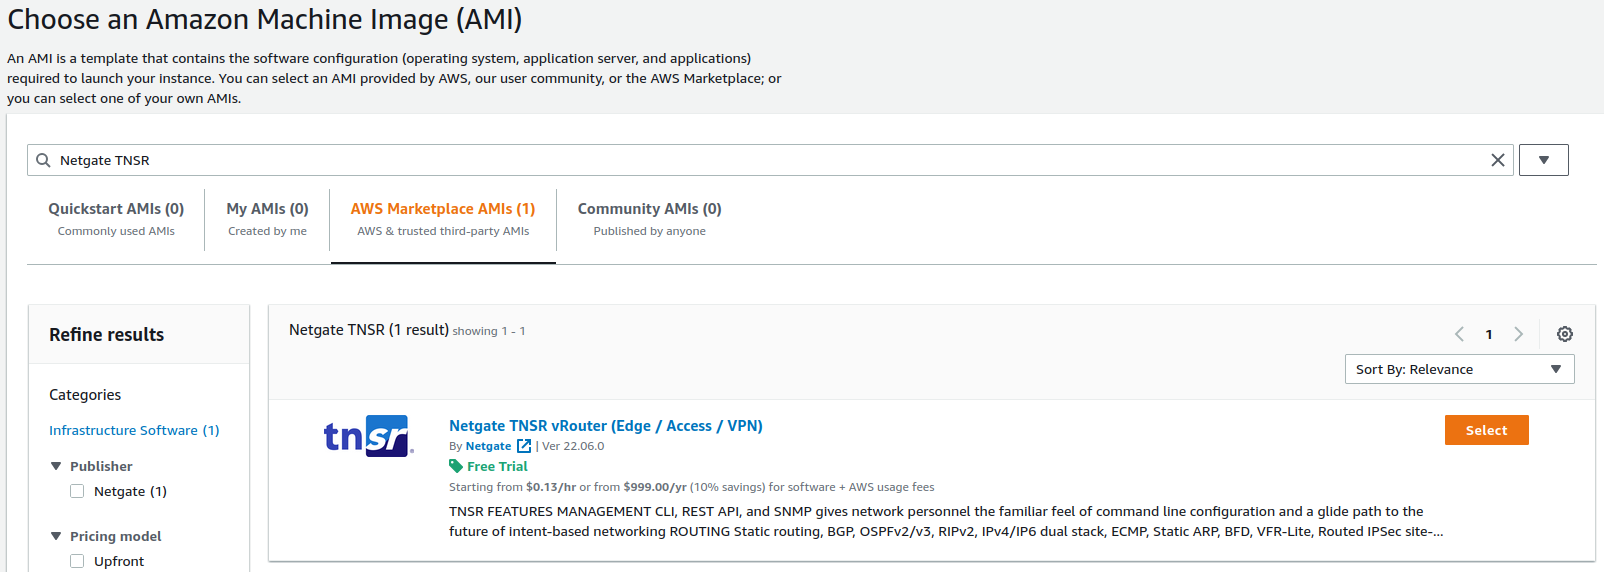
Review pricing and other helpful information, then click Continue.
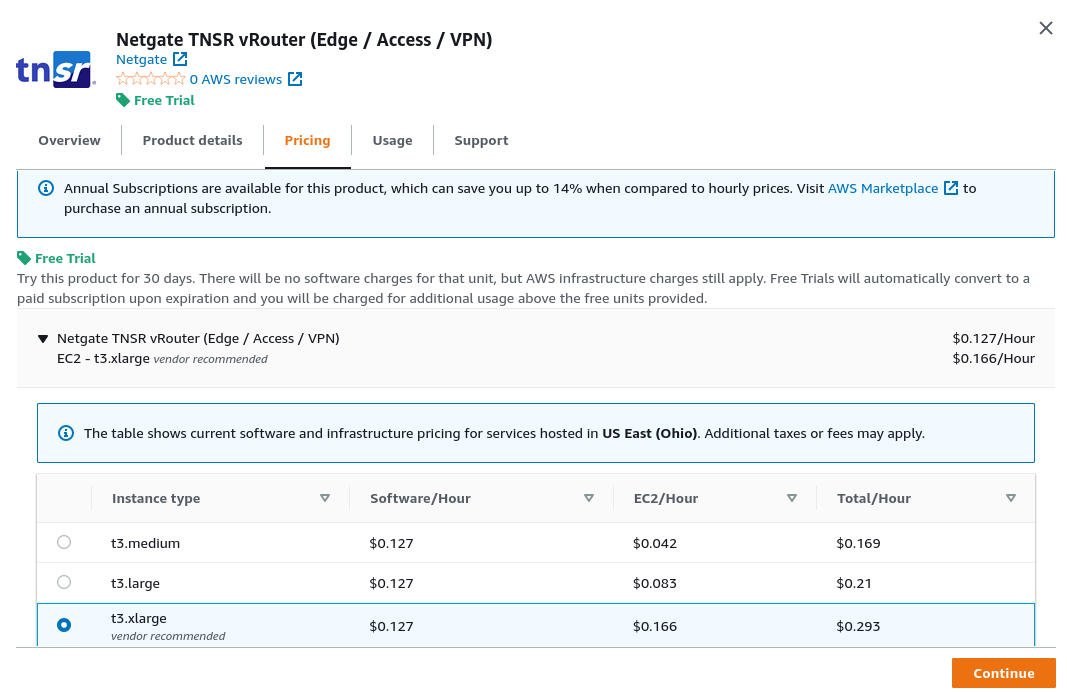
Note
TNSR software is also available with an annual subscription instead of hourly. The annual subscription may be purchased from the AWS Marketplace.
Information about assistance can be found on the Assistance Resources page.
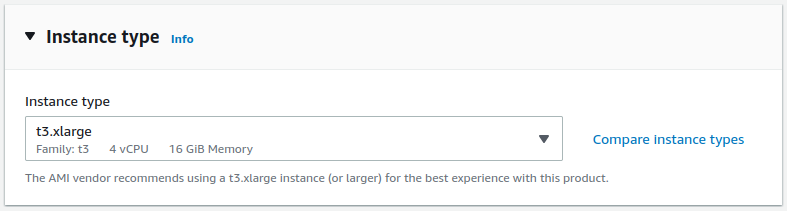
Choose an Instance Type from the drop-down, then click Next
See also
For guidance on which instance type to choose, see Available EC2 Instance Types.
Configure an SSH Key Pair
The Key Pair section of the form sets the SSH key pair used by an SSH client when it connects to the TNSR instance for management.
For an existing key pair:
Click Key pair name
Search for and select an existing key pair entry
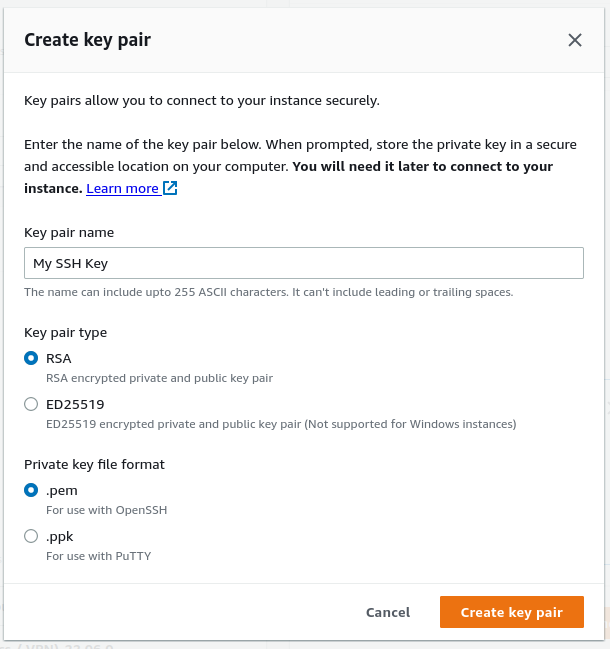
To create a new key pair:
Click Create new Key Pair
Enter a Key pair name, such as TNSR SSH Key
Select a Key Pair Type and Private Key Format
The chosen type and format must be compatible with whichever local SSH client will be used by TNSR administrators
Click the Create key pair
Select a location to save the key pair locally
Click Edit under Network Settings to allow making changes for the next few steps.

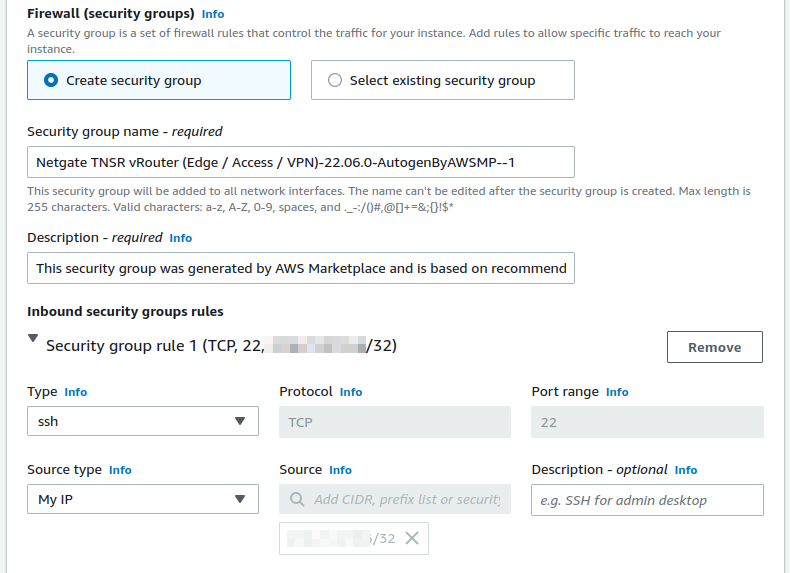
Configure Security Groups
The default security group only includes a rule to allow SSH. Since this group is for the management interface, allowing additional traffic is unlikely to be necessary, but there are still a few changes to make:
Click Create security group under Firewall (security groups)
Enter a Security group name, such as
TNSR Managementor leave it at the default automatic value.Enter a Description for the group, or leave it at the default value.
Set the Source type on the default rule for SSH to My IP so it will restrict SSH access to the public address used by the person creating the AMI.
This is optional, but more secure. If the address is not static, then it may not be viable to restrict this. Setting the value to Anywhere will allow SSH clients to connect from any source (
0.0.0.0/0). While not ideal, allowing SSH connection from anywhere is OK because the TNSR for AWS default setup only allows key-based SSH authentication which is resistant to brute force attacks.
Configure Network and Interfaces
Select the VPC in which to launch the instance
Click Advanced Network Configuration to expand the network interface list
Select the Management subnet as the subnet for Network Interface 1
Click the Add Network Interface button
Select the WAN subnet as the subnet for Network Interface 2
Click the Add Network Interface button
Select the LAN subnet as the subnet for Network Interface 3

Configure storage
If this instance will require more than the default
8GiB disk, increase the value in the Configure Storage section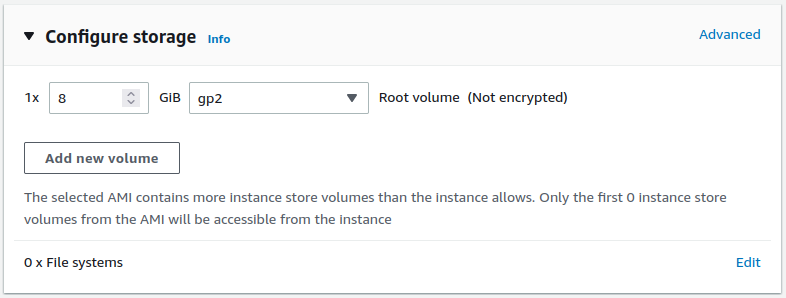
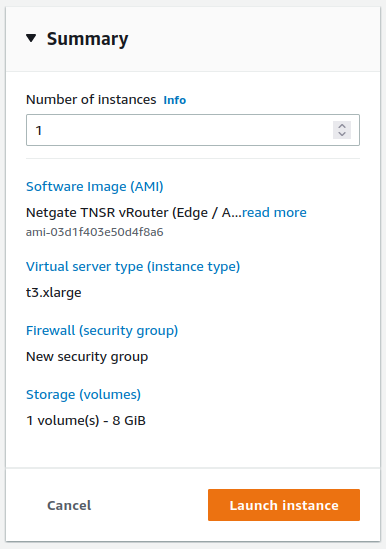
Verify the settings selected in earlier steps and review any errors or recommendations displayed by AWS
Click Launch instance in the Summary box on the right side