Reinstalling pfSense Plus Software
This guide uses the Netgate Installer to install pfSense® Plus software on a Netgate 2100 device.
Note
pfSense® Plus is preinstalled on Netgate appliances. It is optimally tuned for Netgate hardware and contains features that cannot be found elsewhere, such as ZFS Boot Environments, OpenVPN DCO, Built-in IPFIX Export, and the AWS VPC Wizard.
Download Installation Media
The Netgate Installer can be downloaded from the Netgate Store using a Netgate Store Account.
See also
For a more detailed walkthrough of the download process, see Download Installation Media in the pfSense Software Documentation.
The image to download for this device is:
netgate-installer-aarch64.img.gz
Prepare Installation Media
Next, write the installation image to a USB memstick.
See also
Locating the image and writing it to a USB memstick is covered in detail under Writing Flash Drives.
Connect to the Console
The installation process is interactive and utilizes the console. Follow the directions under Connect to the console to configure and use the console.
Boot the Installation Media
Insert the memstick into the USB port and boot the system.
Tip
The best practice is to connect to the console, turn off the device gracefully by using the Halt system option from the console and removing power once the shutdown procedure completes, then insert the USB memstick and boot the device.
Starting the recovery process requires interrupting the boot process very soon after the boot process begins, so having an active console connection before booting is important.
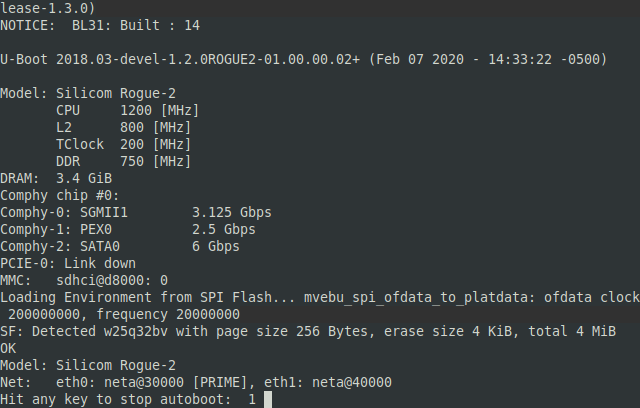
When prompted, press any key to stop the autoboot process.
Type
run usbbootat theMarvell>>prompt and pressEnter.Note
If the device does not boot the installer, or the installer fails, use
run usbrecoveryinstead which will wipe the drive before starting the installer.
Determine Target Drive
During the installation process the installer will prompt to select a target drive. The installer will then write pfSense® Plus to the chosen drive. In most cases a device will have only one potential target drive.
On devices with only MMC storage, the only choice is
mmcsd0.On devices with multiple drives, such as MAX variants, take care to choose the correct intended target. If the device contains M.2 SATA storage (
ada0), that is the optimal choice.USB storage devices appear as
daXwhereXis a device number, such asda1. The device number may shift depending on the order in which the OS probes USB devices or the order in which they are inserted while the OS is running.Note
The installation media is also a USB drive, but the installer does not offer its own disk as a target drive.
Install pfSense Plus Software
The installer will automatically launch and present several options. On Netgate
appliances, choosing Enter for the default options will complete the
installation process in most cases.
Tip
There are options on the Welcome screen of the installer which can recover configuration data from a previous installation or from a USB drive.
See also
For a complete walkthrough of the installation process, see Installation Walkthrough.
When the installation is complete, remove the USB drive from the USB port.
Important
If the USB drive remains attached, the device may boot into the installer again.
See also
For information on restoring from a previously saved configuration, go to Backup and Restore.
Caution
If this device contains multiple disks, such as when adding an SSD to an existing system which previously used MMC, additional steps may be necessary to ensure the device boots from and uses the correct disk. Furthermore, having separate installations of the software on different disks is a known source of problems. For example, the kernel could boot from one disk while the root filesystem is loaded from another, or they could contain conflicting ZFS pools.
In some cases it is possible to adjust the BIOS boot order to prefer the new disk, but the best practice is to wipe the old disk to remove any chance of the previous installation causing boot issues or conflicts.
For information on how to wipe the old disk, see Multiple Disk Boot Issues.